I don’t believe in perfect houses. I do, however, believe in homes that are a perfect reflection of the people who inhabit them. Do you ever dream of a home where everything looks the way you want it to, works the way you need it to, and just generally makes you feel good – without costing a fortune?
That’s why I’ve filled this blog with valuable ideas and organizing tips as inspiration for getting your home organized once and for all….so that you’ll have all you need for creating a space that you will be proud to call ‘’home’’.
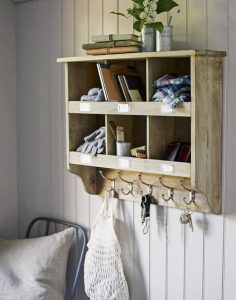
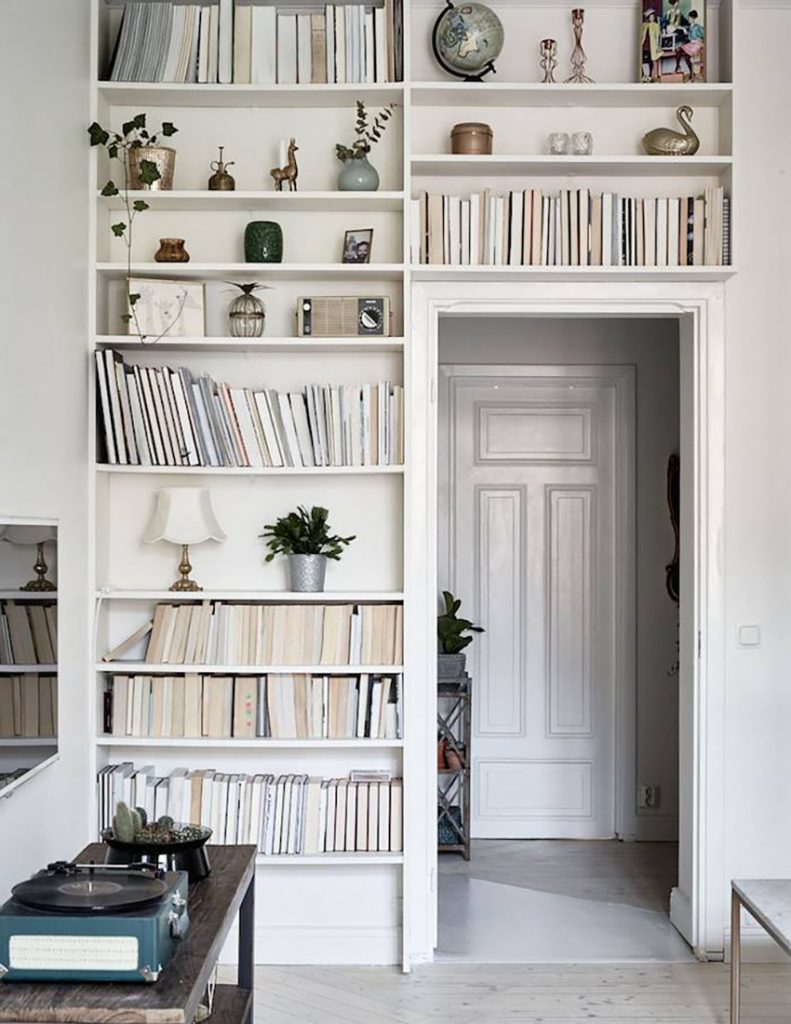
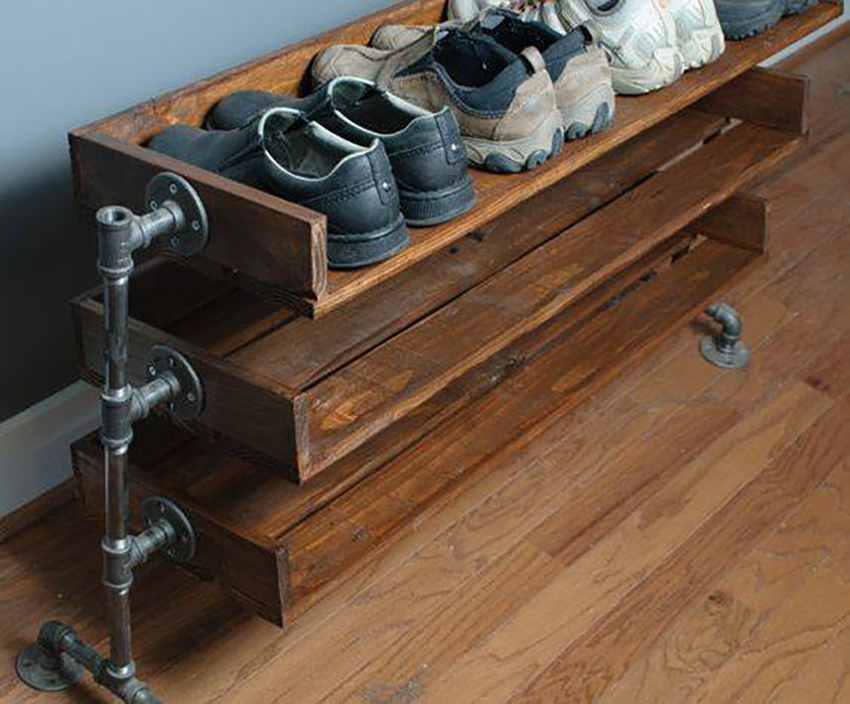
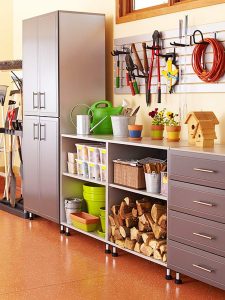
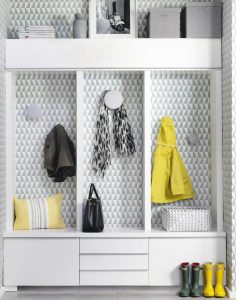
Main entrance
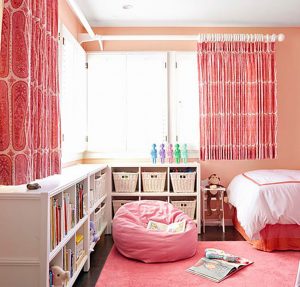
In this hallway we use all of the walls to maximise function. You have closed storage for things you want to hide and an easy to reach open unit for stuff you want to show off. How do you keep open storage looking tidy? Keep stuff you use every day where you can see it. Drawers and storage boxes provide flexibility and keep the hall looking ordered.
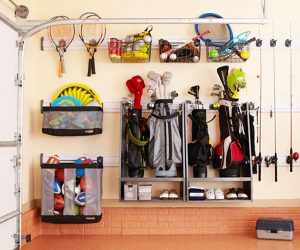
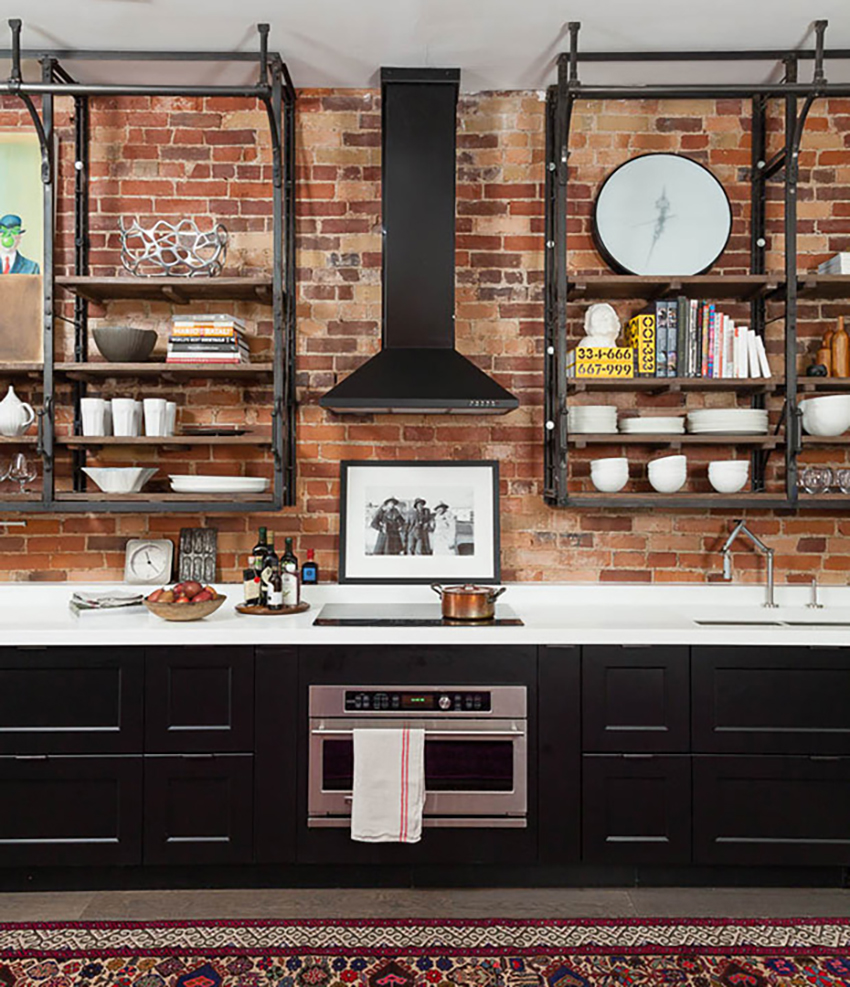
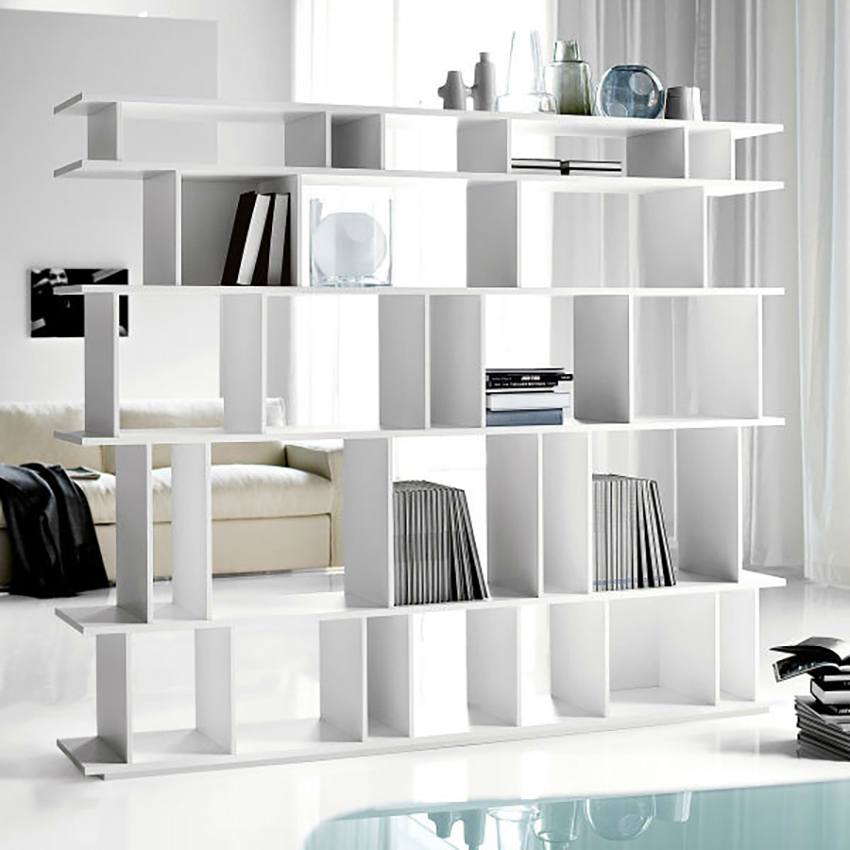
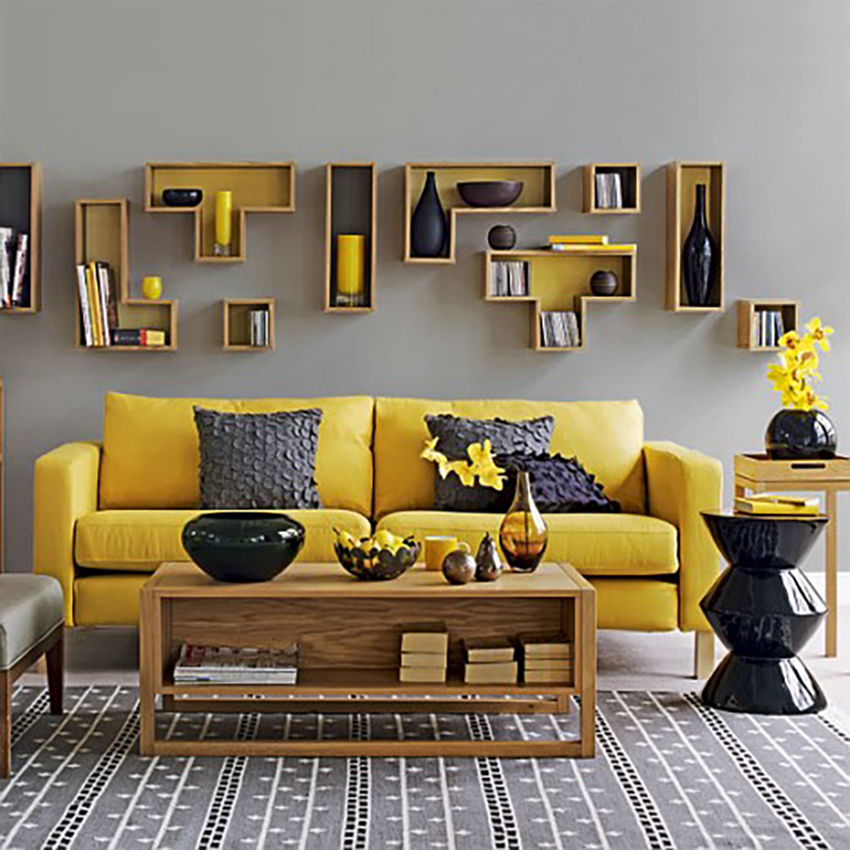
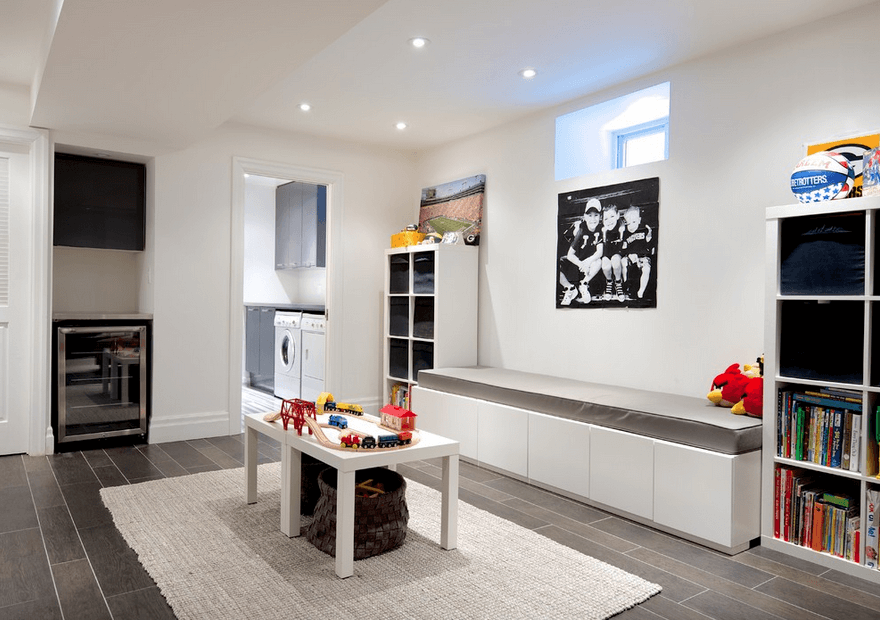
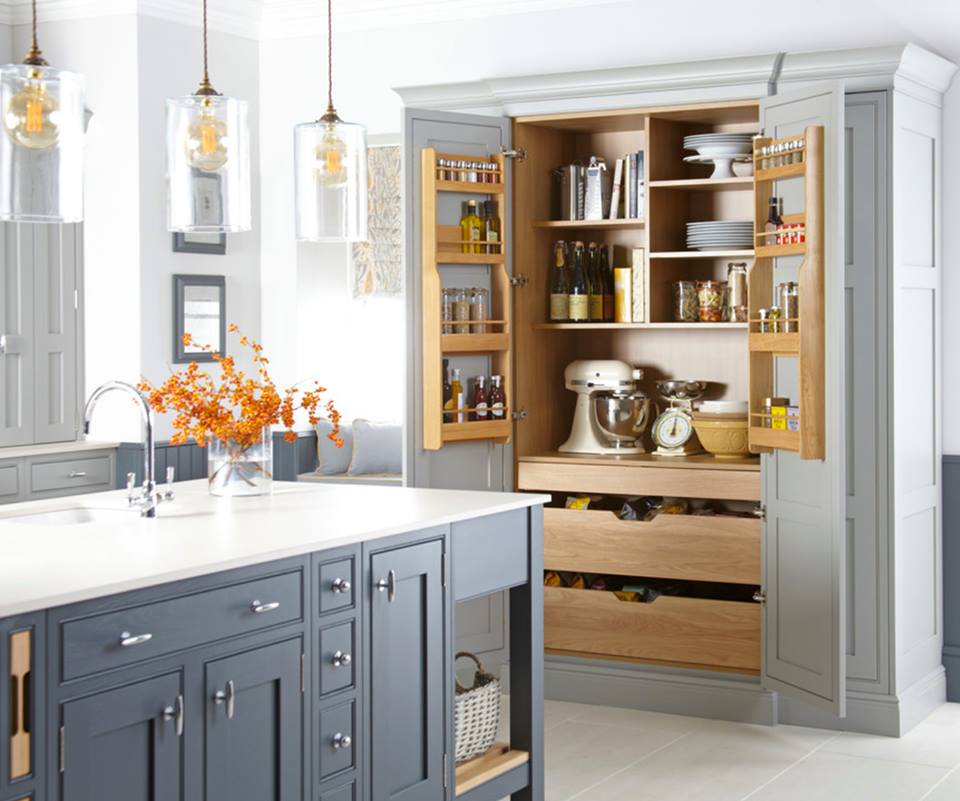
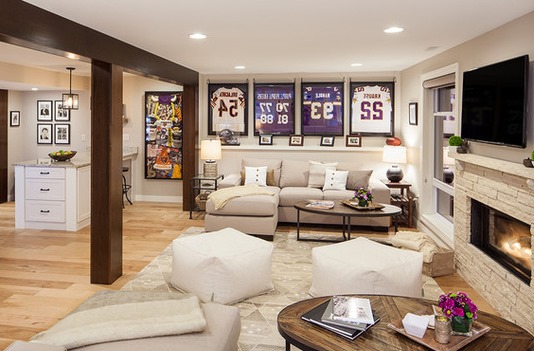
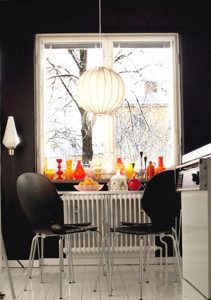
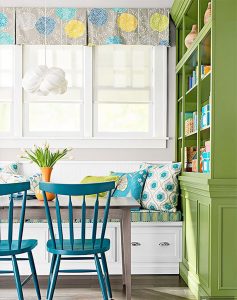
The living area
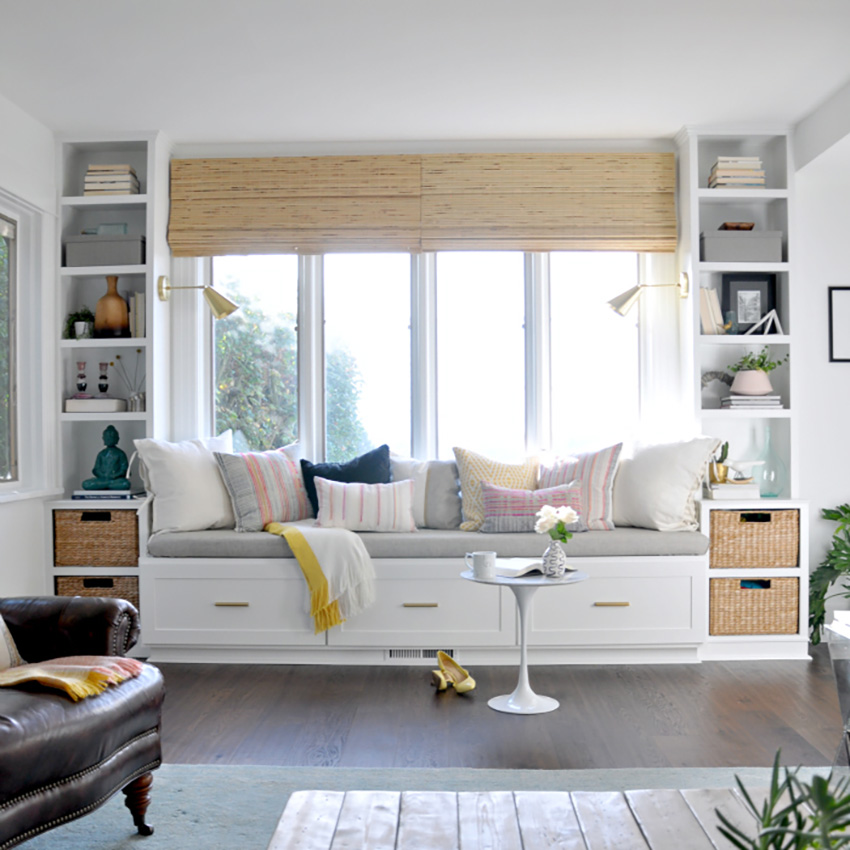
Store more, stress less. Dedicate a wall for maximum storage with modules and shelves custom-made or off the shelf. Organisation helps you find what you want—and you buy only what you need. A row of drawers keeps things neatly stored, keeps dust away and keeps a clean line. A soft spot with cushions and a custom-made mattress pad is good for reflection and reading, especially by a window or a lamp.
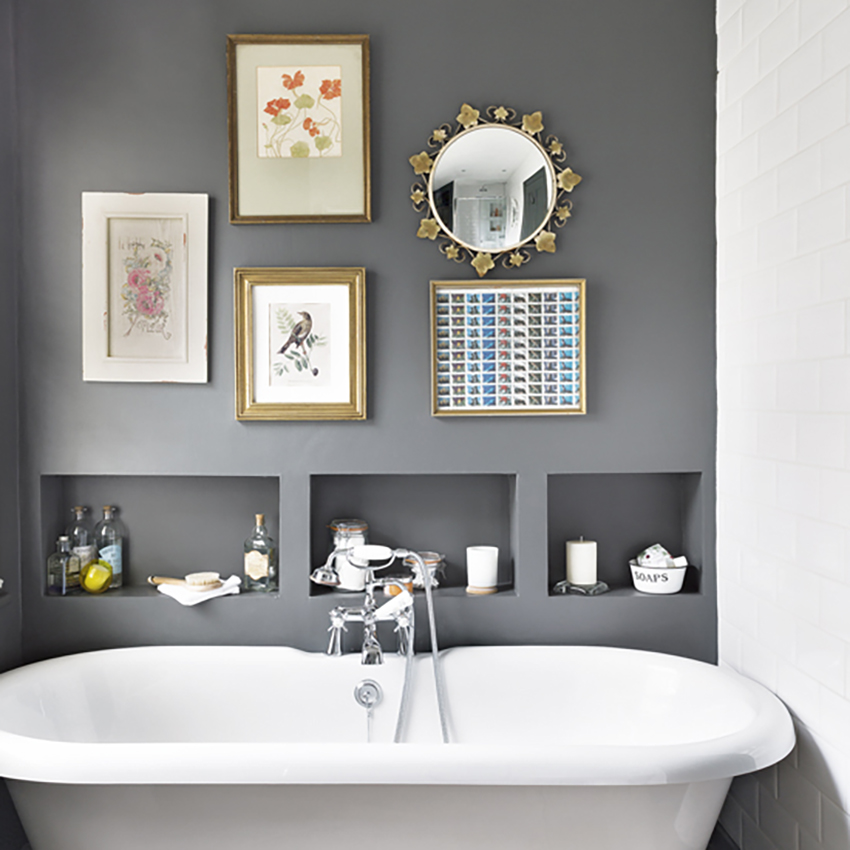
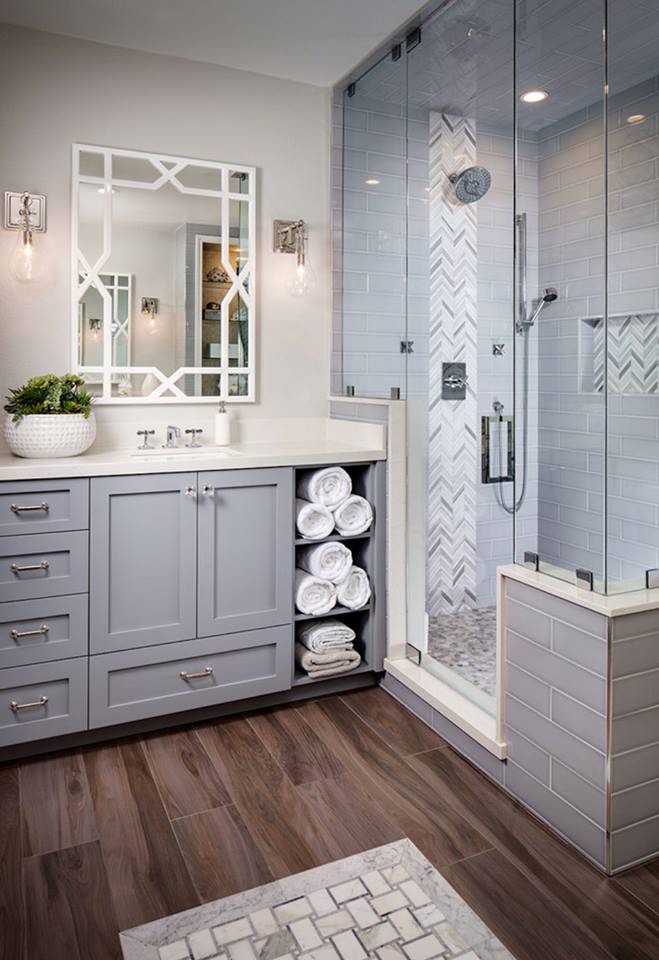
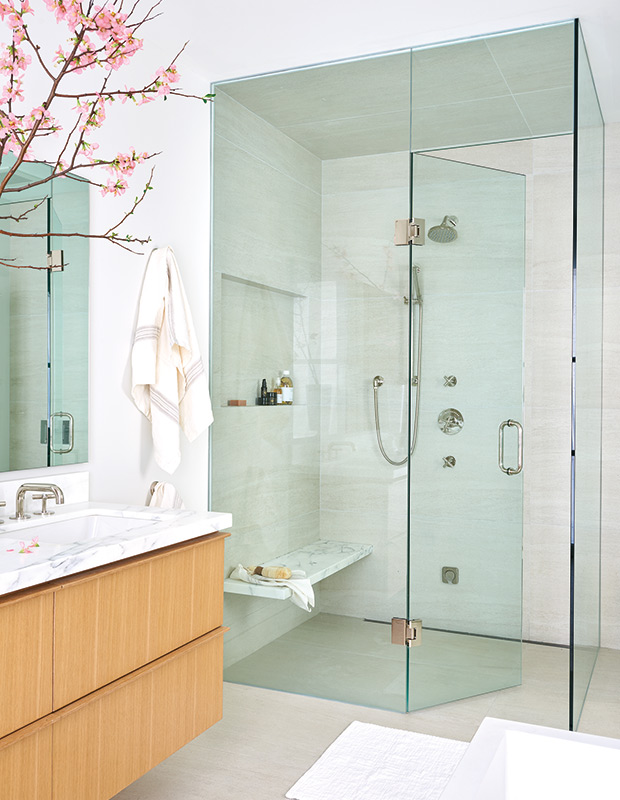
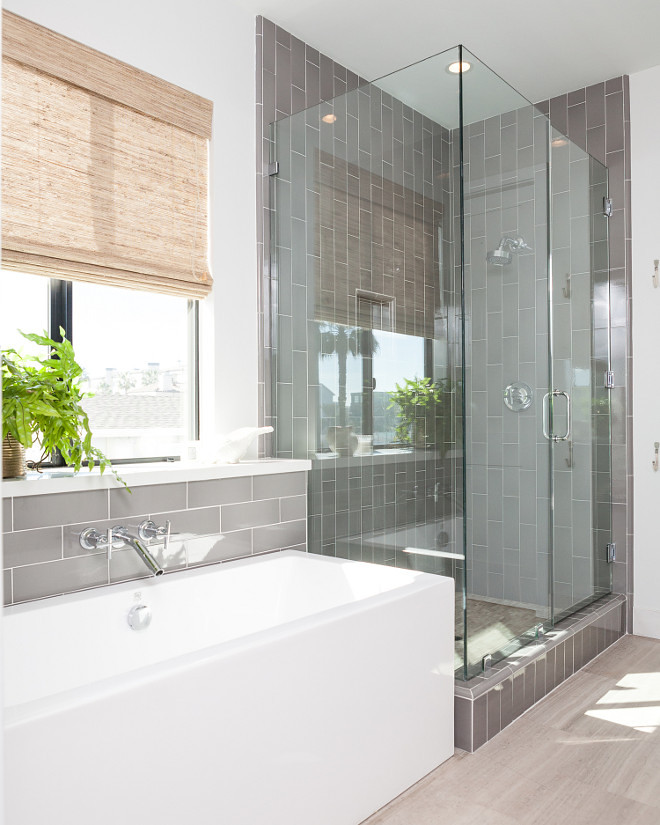
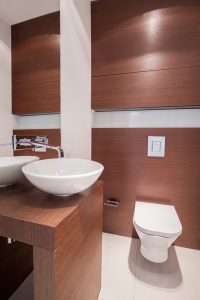
The bathroom
Sure, small spaces are cozy, but they still need to match the practicality of any other size room, especially the bathroom.
Between all the toiletries, makeup, towels, toilet paper, and more, it needs clever storage solutions that cut the clutter and maximize space. When possible, I add retractable shelves to the end of the bath.
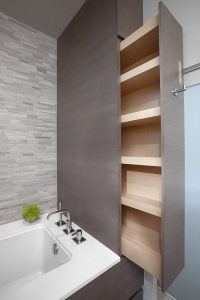
Wall space is precious, especially in an extra tiny bathroom. Shallow cabinets like these have adjustable shelving to make space for items of all sizes, like bottles of bathroom cleaner, toilet paper etc. This bathroom was fully customized to take advantage of every square inch.
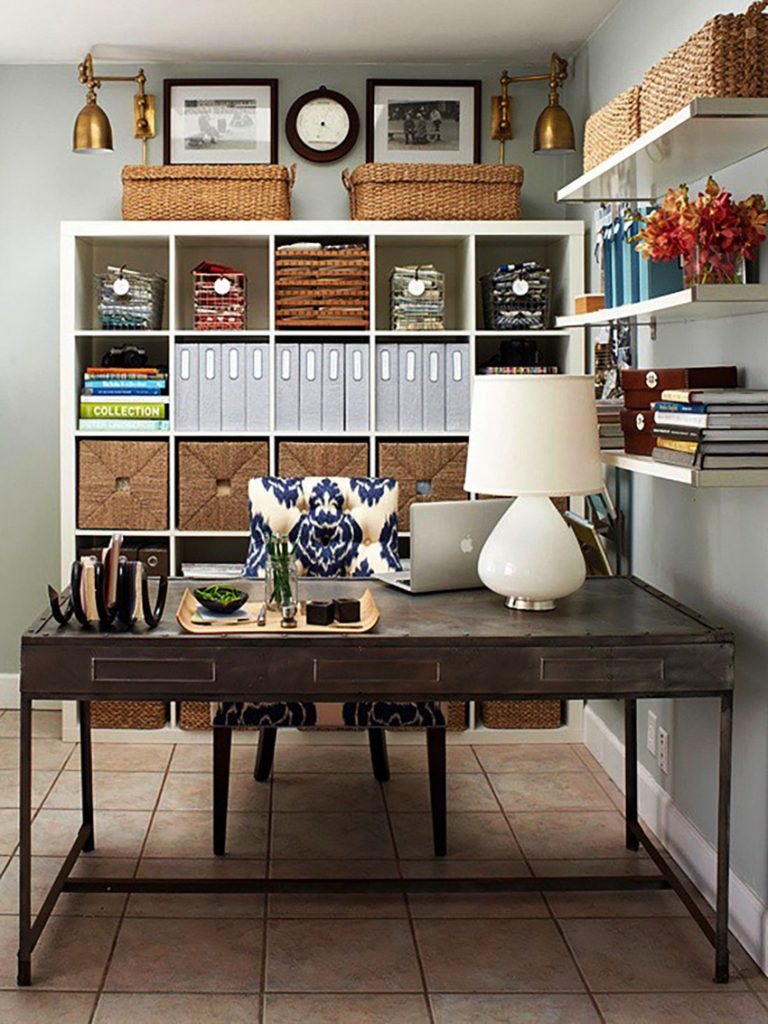
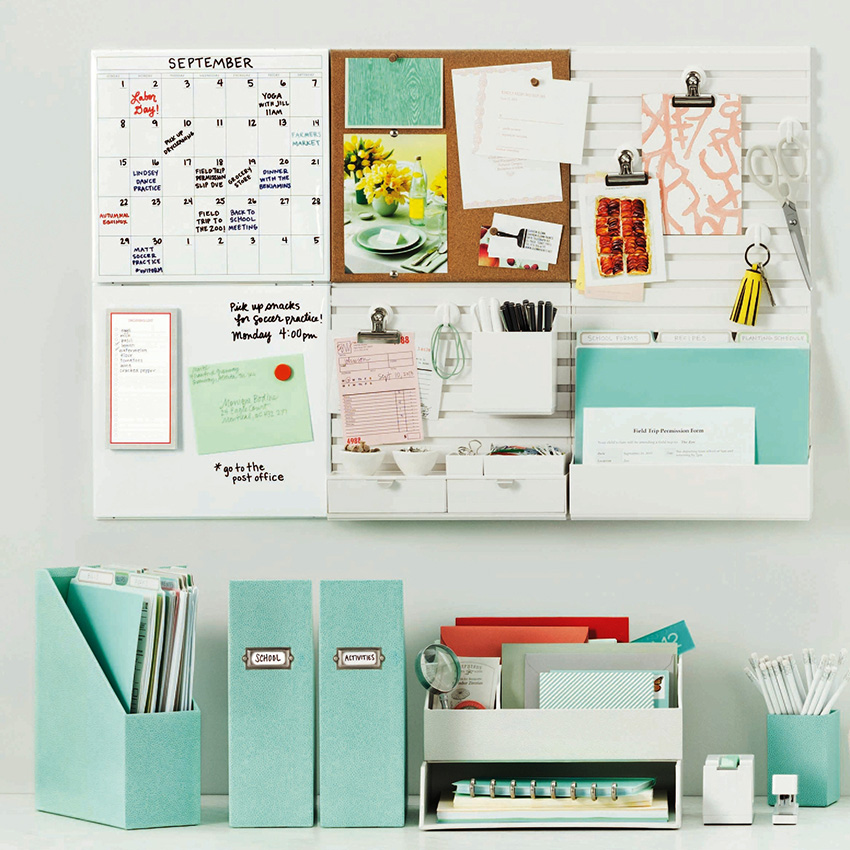
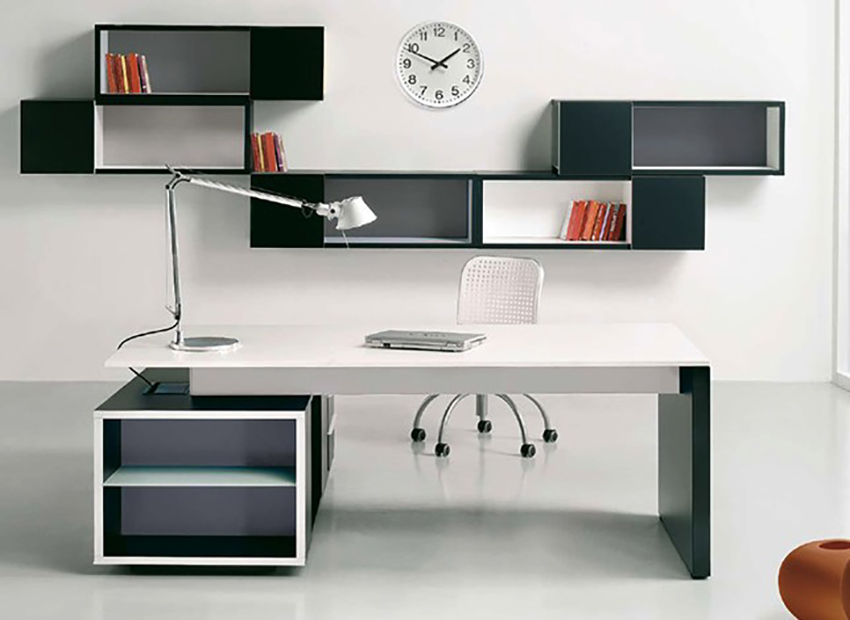
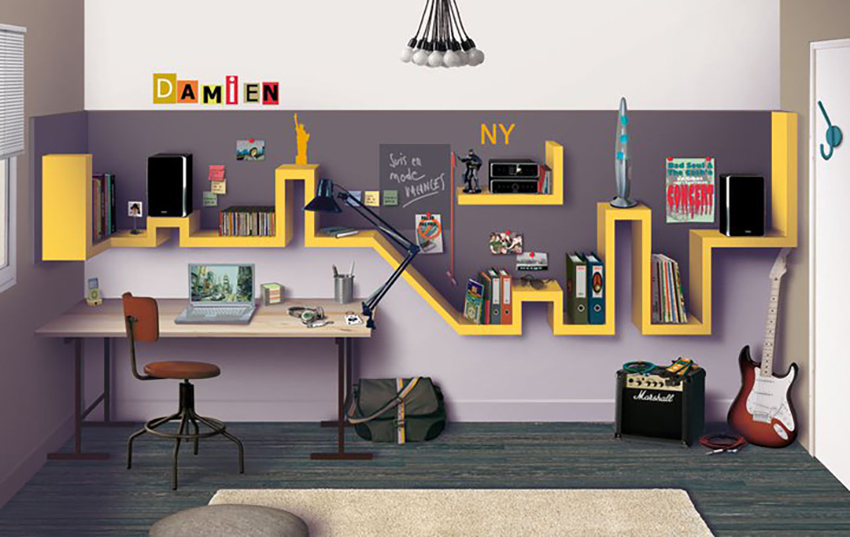
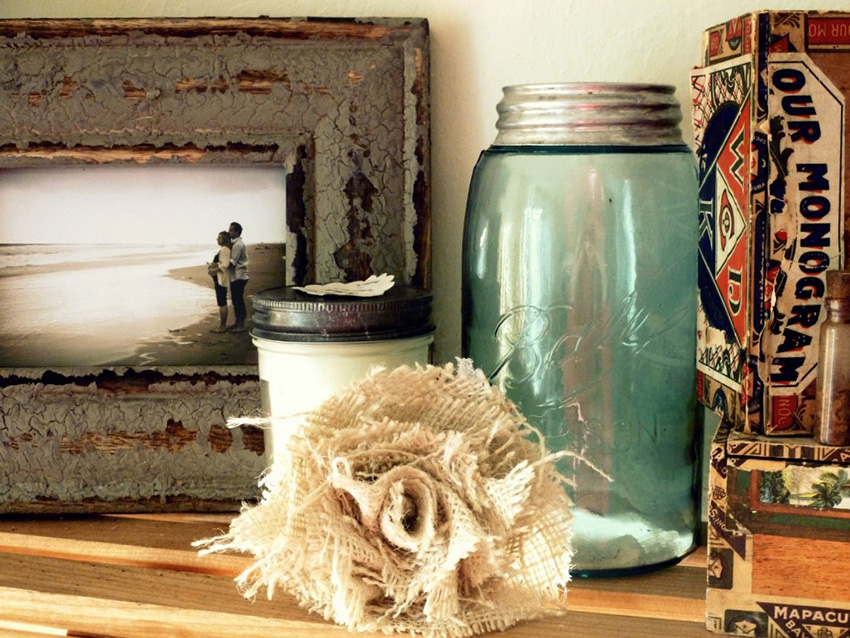
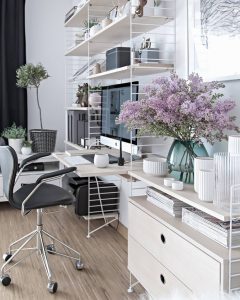
Work zone
When your home is your office, it’s not easy to have work/life balance.
Create space to contain everything by surrounding your desk with shelves. Use solid-coloured, matching boxes to hide things away. Glass vases and jars can show off a few lovelies. Add in accessories, like a letter tray, to sort your papers.
Take charge of your family gadgets
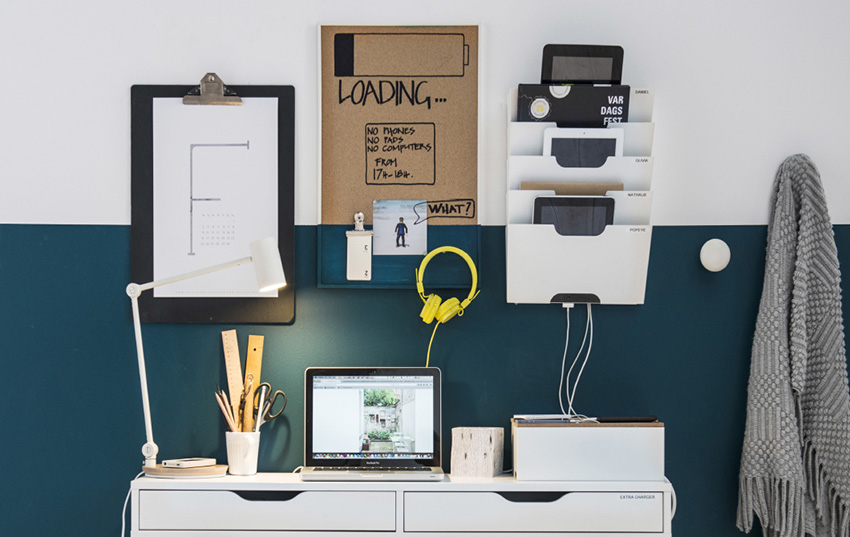
Here’s an easy way to organize your electronics wherever works best in your home. An Ikea wall newspaper rack is a good size for tablets, and labels give everyone their own spot. You can put power strips in IKEA KVISSLE cable management boxes to hide cords and charge several things at once.
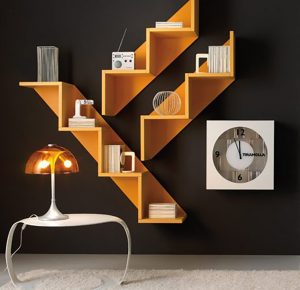
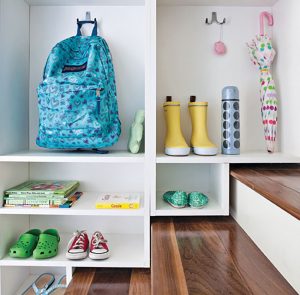
Optimize your stairs
Here is a clever way of making better use of the stairs to the basement or near the front entryway: Practical cubicles custom built around the steps to maximize every square inch. You can decide the shape and size of each module, as well as adding shelves and hooks according to your needs.
You would like to adopt some of these ideas in your own space but you don’t know where to start?
Contact us to transform your home or office according to your style, your budget and your specific needs. By discussing your project we can provide you with relevant information concerning our services, the process and our design fee.
Click here to contact us.