Versa Style Design

Montreal Interior Design and Renovation Services

  • Home Renovations
    • Kitchens
    • Bathrooms and Laundry
    • Basements
    • Luxury Interior Design
  • Get Organized
    • Small Spaces
    • Kids’ Bedroom and Playroom
    • Closets and Walk Ins
    • Office Design
    • Home Theater
  • Design
    • Living Rooms and Dining Rooms
    • Bedrooms
    • Exterior Design
    • Perfect Colours
    • Custom Furniture Design
    • Curtains and Blinds Design
    • Walls that make a Statement
    • Man Caves and Garages
    • Online Design Services
  • Reviews
  • Portfolio
    • Kitchens
    • Bathrooms
    • Living Rooms and Dining Rooms
    • Bedrooms
    • Basement
    • Exteriors
    • Offices
    • Vestibules, Halls, and Stairs
    • Home Gym
    • Wine Cellar
    • Kids’ Bedroom and Playroom
    • Custom Furniture
  • About
  • Contact
  • Français

Mar 26 2016

The Best Colour Combinations for Your Home

There are many outstanding design classics that never go out of style. It may be an iconic chair, a stone counter top or a sensational piece of fabric. There are also classic colour palettes that go above and beyond popular trends and stand the test of time. Everybody instantly loves them and they can be adjusted to any style; whether rustic, modern, traditional or eclectic. They just seem to harmonize perfectly and always get along.

Here are the ones I tend to recommend the most…

Navy, white and red

Navy, white and red

Not for the faint-hearted, this dynamic trio is a fast-track to a statement scheme. Hits of tomato red stand out against a soothing navy background, and splashes of white add a clean and nautical twist.

White, black and fuchsia

Think black and white is dull? Add a sharp pop of pink. Start with a scheme that is mostly white, add a couple of black accessories, then choose a statement piece of furniture or a single accent wall in daring fuchsia for a bright injection of colour.

White, black and fuchsia

Dark blue with hits of orange

Dark blue with hits of orange

Take inspiration from this complementary palette and create a harmonious mix of colours and styles; velvety fabrics create an inviting area for lounging or entertaining. Give your scheme an edge with bright bursts of orange. Add accessories with hits of blue and orange to bring it all together.

Grey and yellow

Stuck in a grizzly grey rut? Cast your eye over this versatile pairing. From statement furniture to delicate accessories, sharpen up soft grey with bursts of zesty citrus for a fresh look that packs a punch. It’s a match made in colour heaven!

Grey and yellow

Teal and mustard

Teal and mustard

Not just for hot-dogs, a dash of mustard quickly adds depth to a room’s scheme. Team this moody colour with teal for a Seventies-inspired look that has plenty of character.

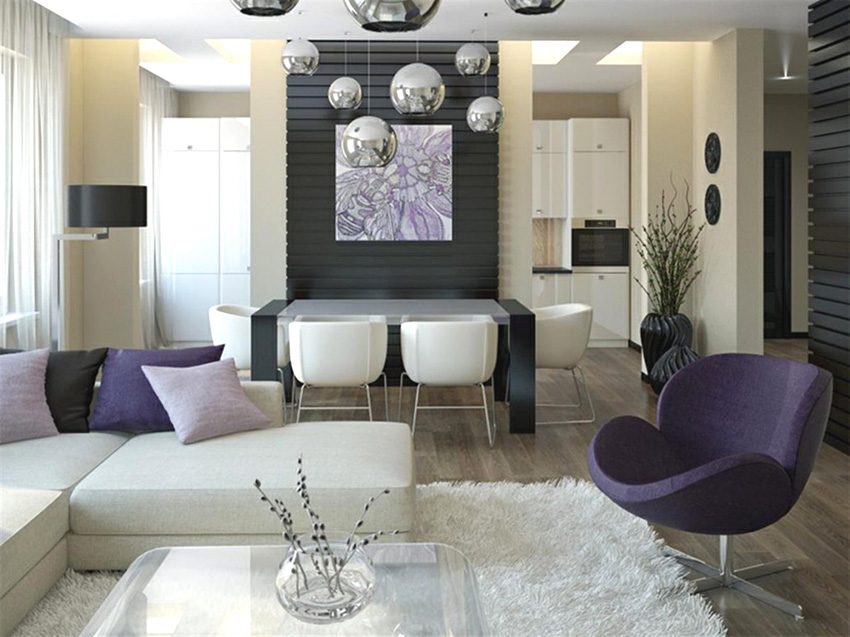
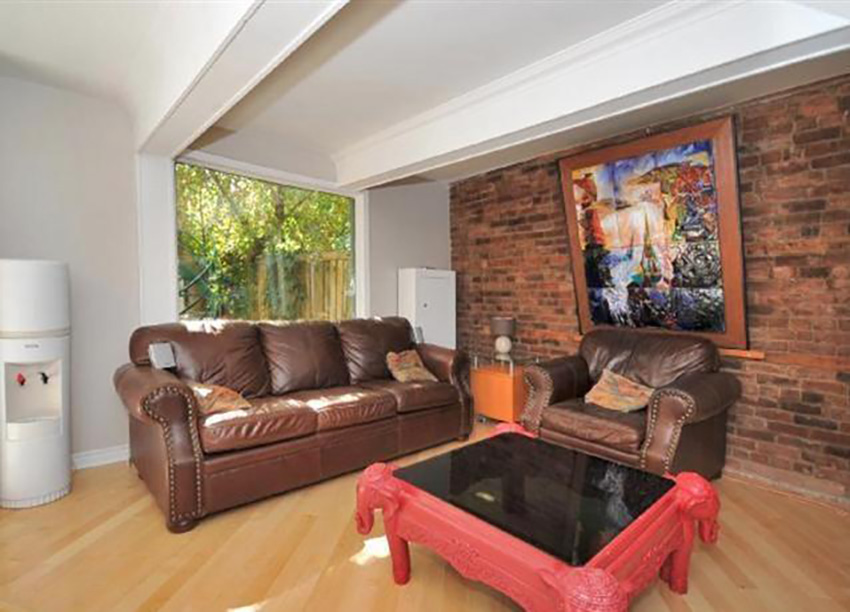
Charcoal, white and brick

Warm up a cool neutral scheme by teaming a rich charcoal gray with bold brick hues. Opt for grey-white furniture and stone-coloured walls, and then add accessories in bold shades of brick and terracotta for an earthy, but fresh mood.

Charcoal, white and brick

Grey with wood furniture and floors

Grey with wood furniture and floors

If you want your wood floors and furniture to stand out, don’t pair them with beige, but rather pair them with blue-greys or greys. Trust me; you will love your wood even more, regardless of your personal style.

Crisp navy, white and green

This palette is fresh and summery, and it is great for kids, for women as well as for the guys, especially if you go with a nautical theme! Don’t be afraid to go with navy on at least one wall.

Crisp navy, white and green

Black with anything

Black with anything

Black is no longer a taboo shade when it comes to home design. In fact it has become very popular. Frankly, every single colour seems to really pop out with a black background. Try to keep the clutter to a minimum so it remains sophisticated.

This is a dramatic choice so I usually suggest that my clients first try it in a powder room, vestibule or bedroom because they spend less time there.

Black with anything

White and sand

White and sand

Because of the low contrast, this palette is gentle and easy on the eyes. It will never go out of style. Make sure you add textures so the space isn’t bland but rather visually interesting and inviting. In this living room stone is mixed with an animal skin rug, wood lamp and textured linen fabrics. Usually it is best to have a little more white than sand.

White with a hit of bright green

If you want a dynamic feel to the room then crisp white paired with bright green is a great choice. It is very important to make sure that most of your accessories are white to keep the look clean and pure. This space needs to remain clutter-free so if you aren’t up to the challenge, you should probably choose another palette that is more forgiving.

White with a hit of bright green

To conclude

More than any other factor in home design, it is colour that establishes the mood and ambience of a room; Choose colours that make you feel excited and alive, or serene and elegant. Also, wall paint is the most economical way of making a dramatic change in any space. Go with a palette that is harmonized to what you already own, pulling it all together.

Colour must be chosen in the room itself, with a variety of paper samples hung on the walls so you can evaluate how they look with the changing light. If you would like these convenient samples, contact us for a home colour consultation.

All of the furniture, lighting, ancestral stone, wallpaper, rugs, couches, beds and paint colours are available through Versa Style Design.

You would like to adopt some of these ideas in your own space but you don’t know where to start?

Contact us to transform your home or office according to your style, your budget and your specific needs. By discussing your project we can provide you with relevant information concerning our services, the process and our design fee.

Click here to contact us.

Written by Lucie Pitt · Categorized: Decorating with color · Tagged: color, colour, colour combinations, cuisine versa style, trends

Feb 10 2016

Top 5 Home Staging Tips for Selling Your Property

Tips for Selling Your Property

Did you know that the purchase of a property is often motivated by ‘love at first sight’? An informed buyer will have the property inspected by a professional, but what inspires them to make an offer in the first place is emotion. In the current economy and market it is the buyers that have the bargaining power, so be smart and prepare your property.

With these top strategies, it won’t be that difficult turning it into the typical buyer’s dream home.

All your home needs is a bit of Home Staging. The goal of staging is to make a home appealing to the highest number of potential buyers, thereby selling a property in less time and for more money.

According to the Greater Montreal Real Estate Board of Montreal, home staging services have helped people sell their homes up to twice as fast, on average, and for up to 3% more than competing homes in the same context.
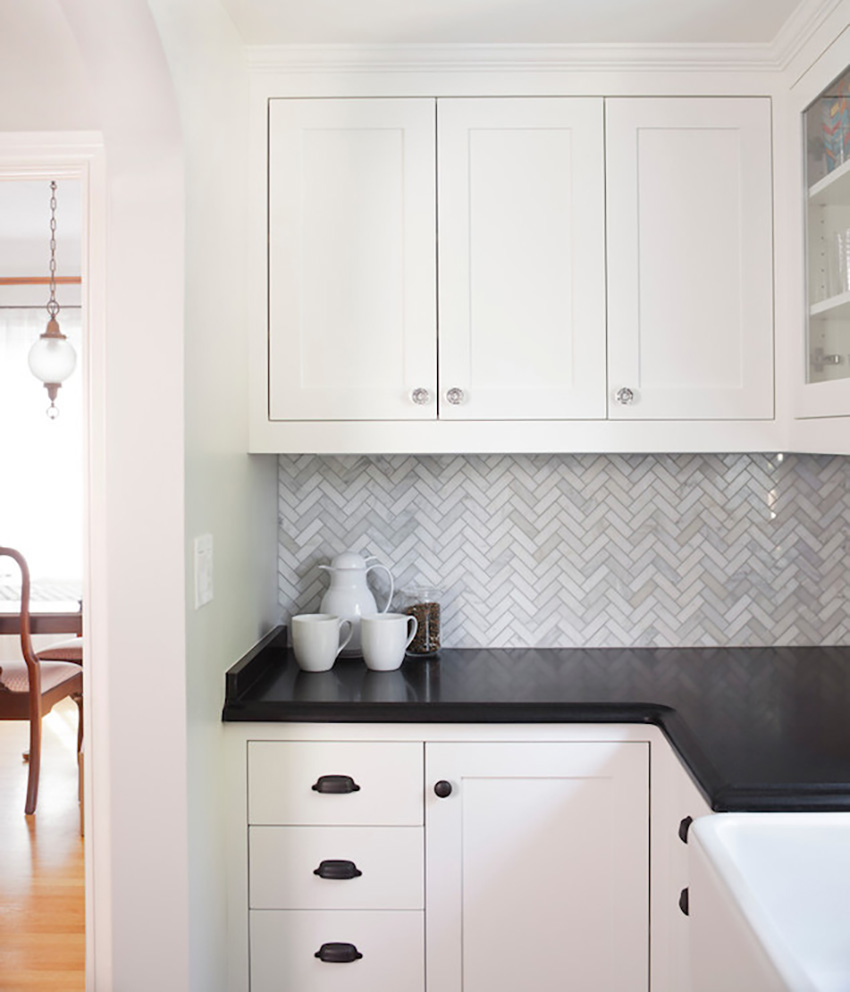
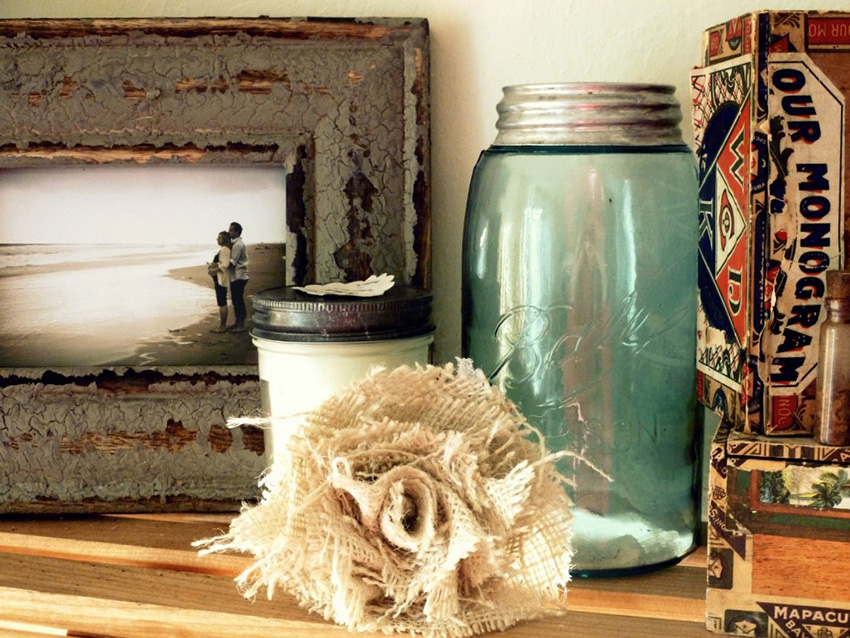
Tips for Selling Your Property

Successfully sell your home using these top 5 tricks of the trade….

Repair
Repair

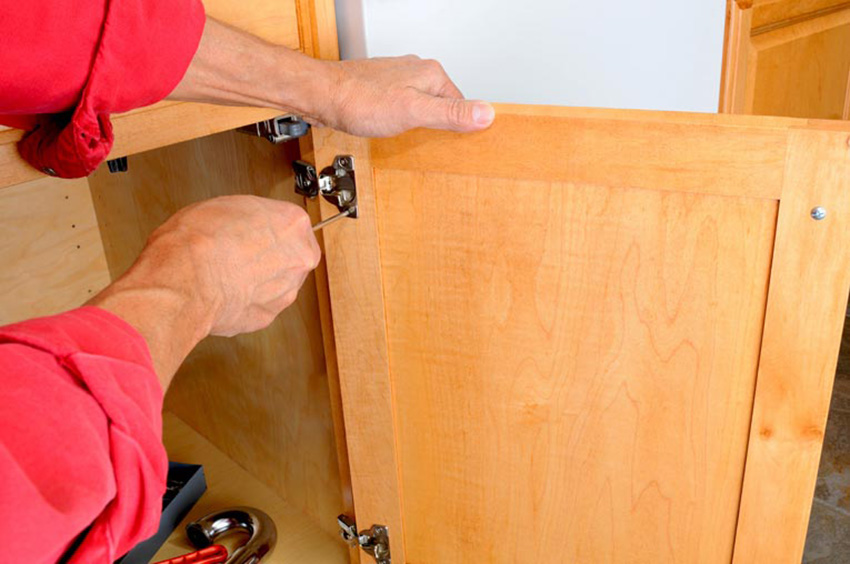
Potential buyers look for “turn-offs”. It is imperative that you take care of all repairs as soon as possible. Do not attempt to transfer this burden to potential buyers. Avoid distracting their attention with leaky plumbing fixtures and unstable door handles. If you haven’t been motivated to take care of these little jobs, the buyer will like the idea even less!

Choose neutral colors

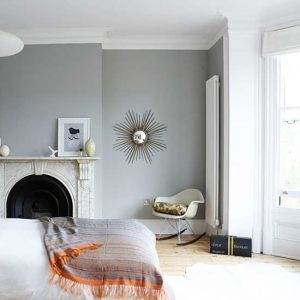
You do not have to paint the entire house. The most important zones are the living areas and kitchen where the most time is spent. Make sure these walls are a neutral shade. This will help visitors easily visualize the space with their own furniture and style without any distractions or apprehensions about extra work needed before moving in.
Choose neutral colors

Clearly define each zone

Clearly define each zone

It is especially important in open plan concepts to structure and divide up the space. Define one of the zones with an area rug or use a complementary colour on the wall. This allows visitors to imagine themselves living and evolving in the space.

Eliminate excessive furniture and accessories

It is paramount that the home buyer be able to see and evaluate what they are buying. Make sure there are no obstacles preventing circulation from one room to the other. In each zone, objectively evaluate any furniture that makes the space feel small and cluttered. Remove messy-looking plants, extra end tables, etc.

Before
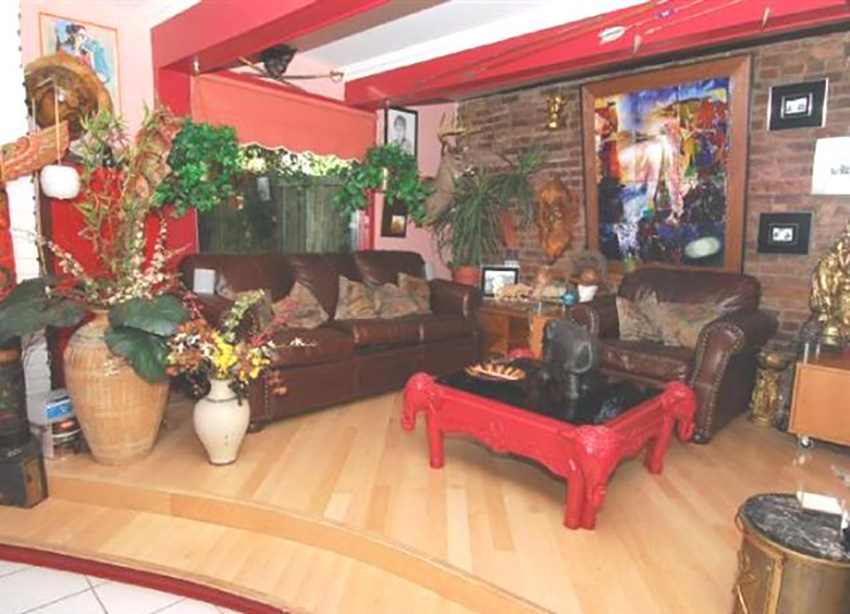
Before

After

After

De-personalize

This step isn’t always easy, but it’s very important that you temporarily remove your personal belongings. Personal photographs, clusters of collections and trinkets from vacations will need to get wrapped up and stored. You will be moving anyway, so that part will be done.
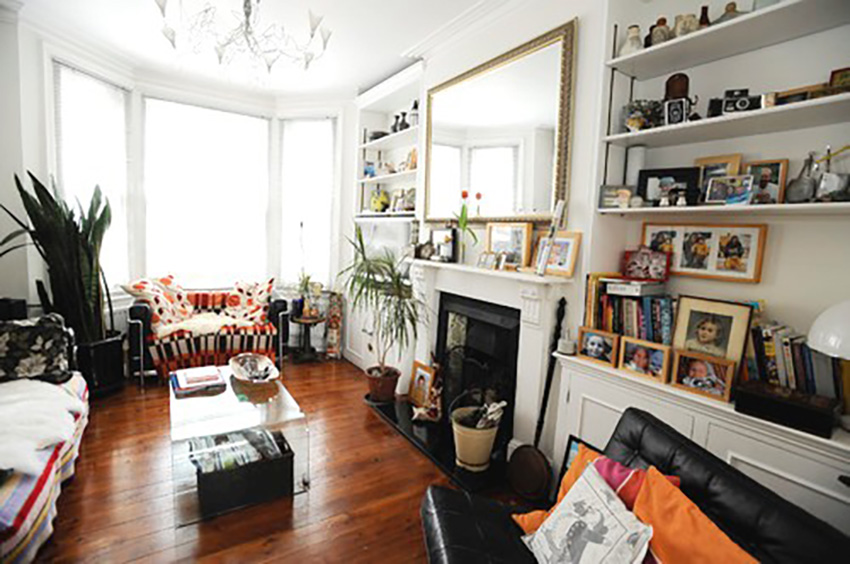
De-personalize
De-personalize

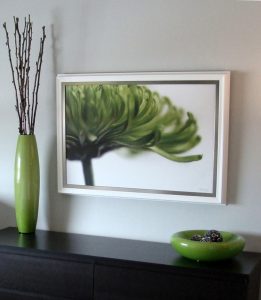
Once the space is de-cluttered, decorate with a couple of ‘generic’ frames and accessories that appeal to the majority of consumers. Think ‘hotel room’. Re-use items you already own, but a lot less of it. Potential buyers should love the house; not your collectibles.

Tidy up and deep clean

Excellence is in the details. Present an environment that the buyer wants to live in and demonstrate your level of professionalism. This creates trust and eliminates nagging doubts about what the final condition of the home will be when it is signed off to them.
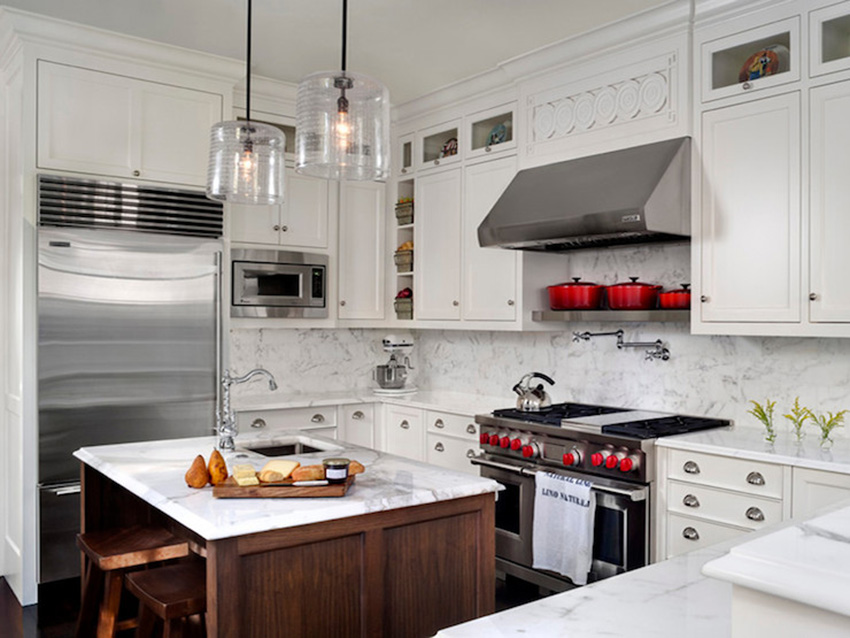

Tidy up and deep clean
home staging consultation

During a home staging consultation, we identify what your target buyer wants and how you can give your home the right look and feel for today’s real estate market. We suggest small budget-friendly changes. You also receive immediate reports, clear plans and sketches allowing you to execute the strategies yourself. If you prefer having some help, we can assist you with your home staging project as well as take care of any minor or major repairs.

We expertly use what you already own to optimize the space, freshen it up and get it organized. At Versa Style Design, we use professional and proven trade strategies transforming your property into a sought-after dream home.

You would like to adopt some of these ideas in your own space but you don’t know where to start?

Contact us to transform your home or office according to your style, your budget and your specific needs. By discussing your project we can provide you with relevant information concerning our services, the process and our design fee.

Click here to contact us.
Written by Lucie Pitt · Categorized: Home Staging

Dec 11 2015

Bring Nature Into Your Holiday Decorating

December is here so why not install your holiday decorations?

Holiday Decorating

If you are anything like me, you like the idea of changing it up, but the idea of investing in brand new holiday decorations from A – Z is not attractive at all.

So here are a few ideas:

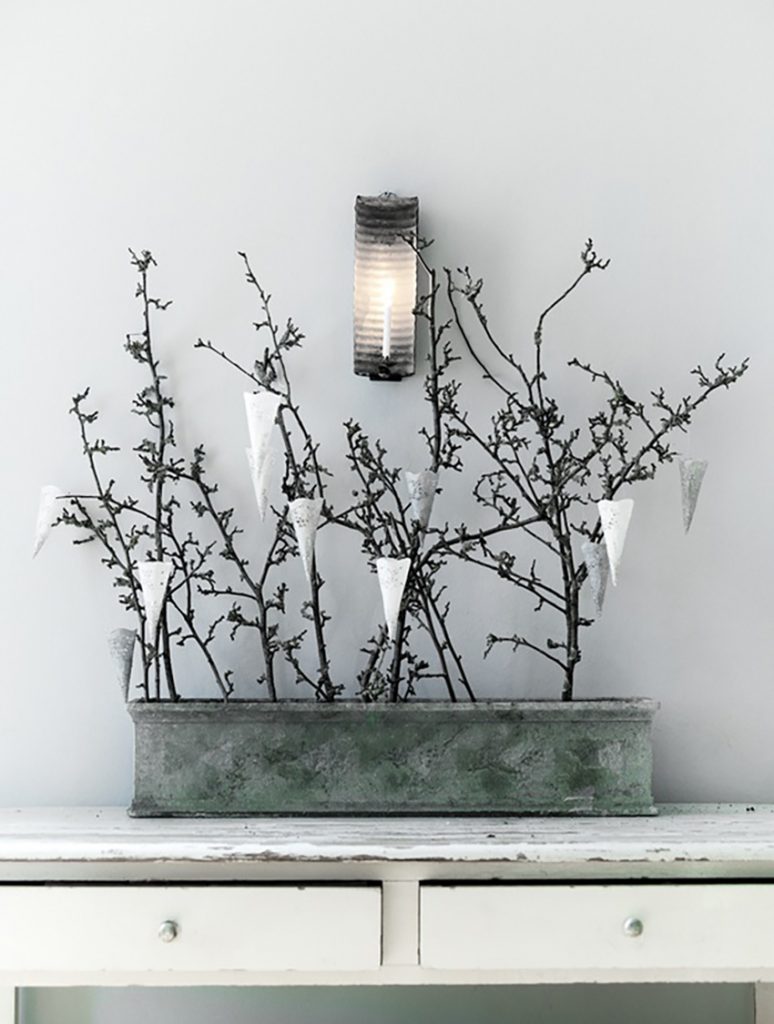
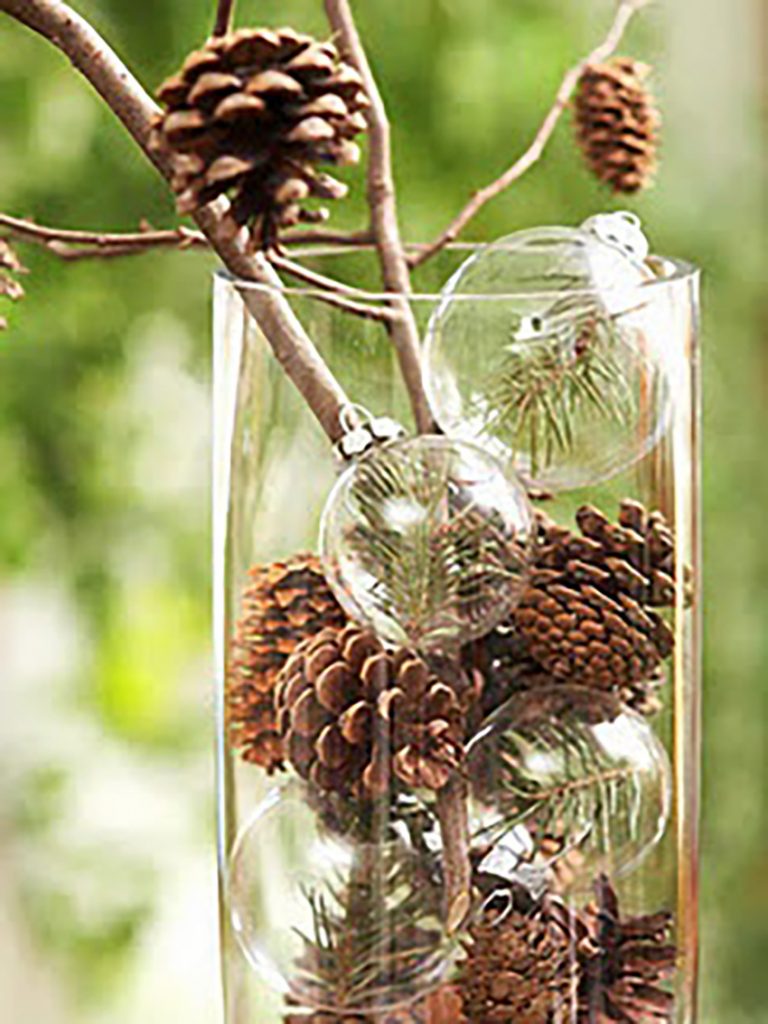
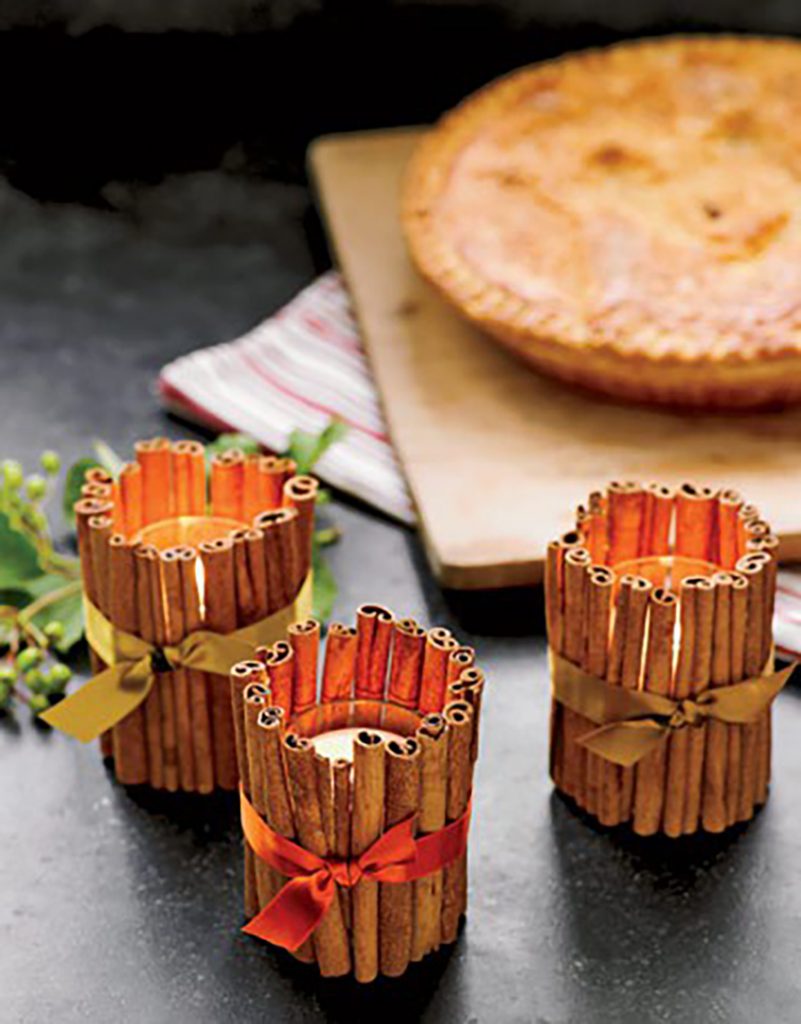
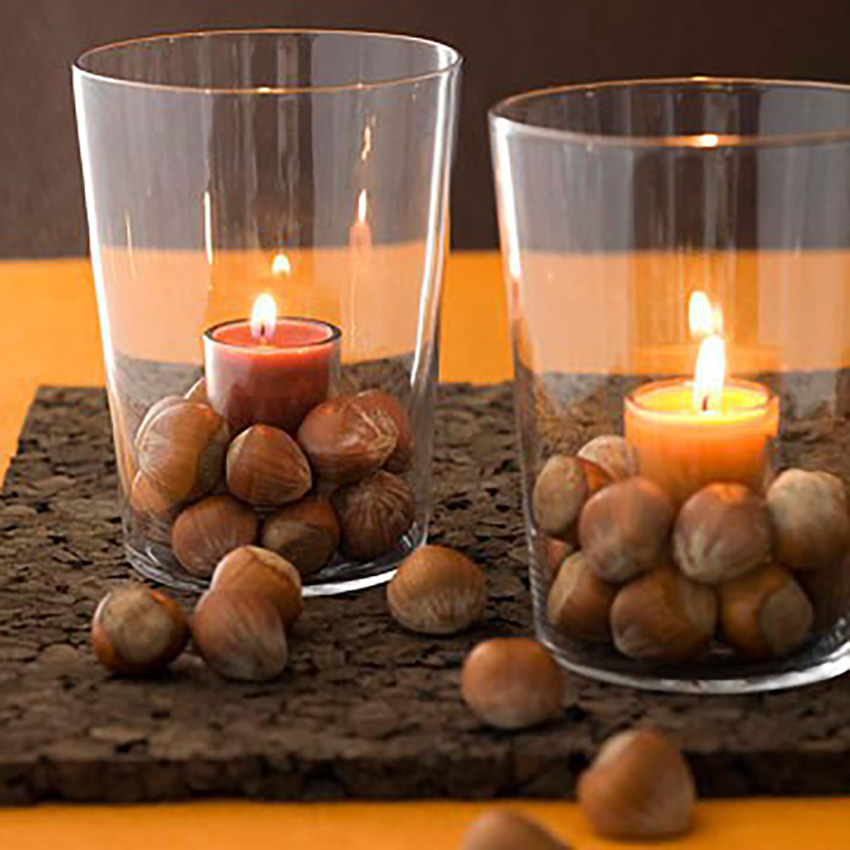
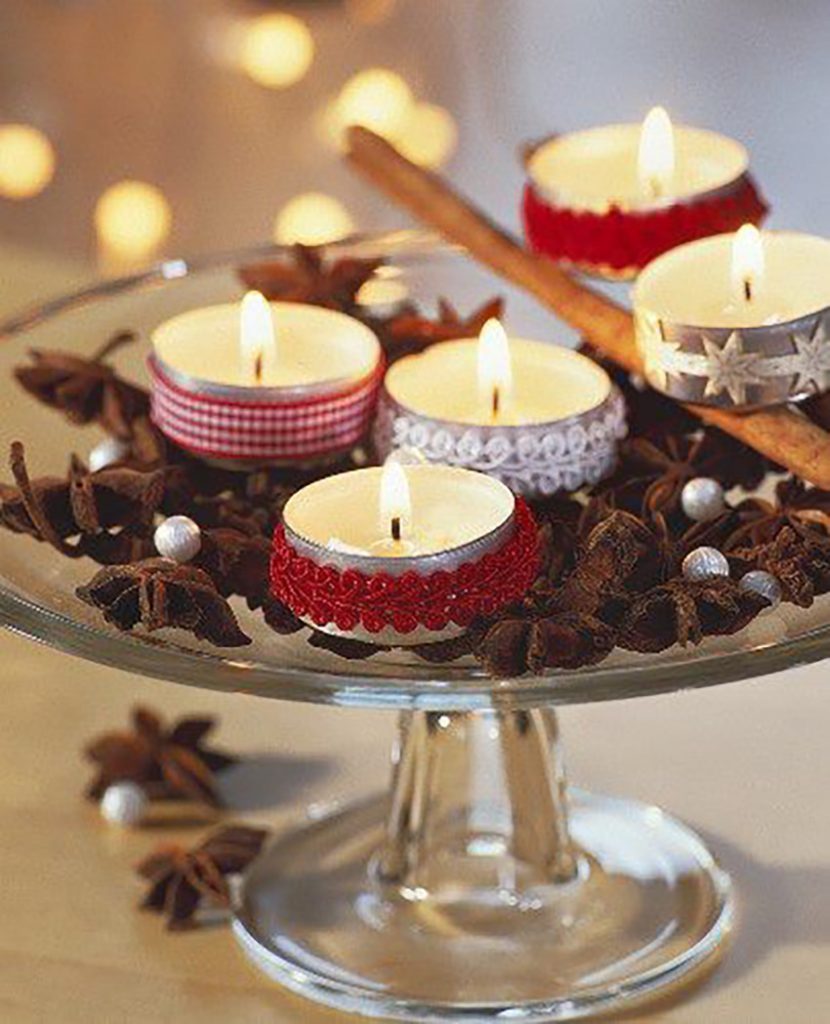
Visit your local public or farmer’s market as well as bulk food stores for various nuts, dried fruit and stars of anise. You can also enjoy a nice stroll in the woods; I am convinced you will find branches and pine cones waiting for you to give them a new home. Hobby stores and even the dollar store are a great source for ribbons, natural moss, natural fabrics and jute string.

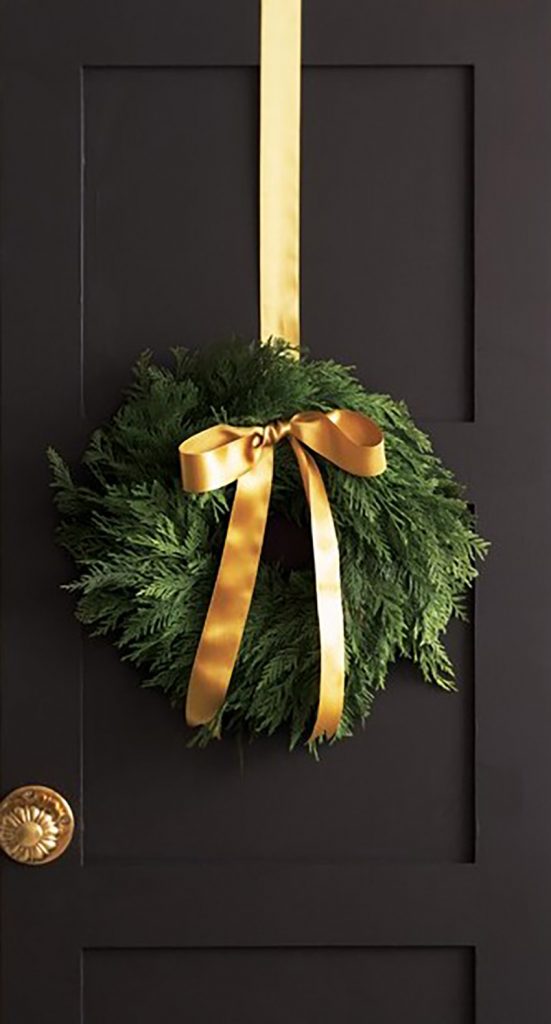
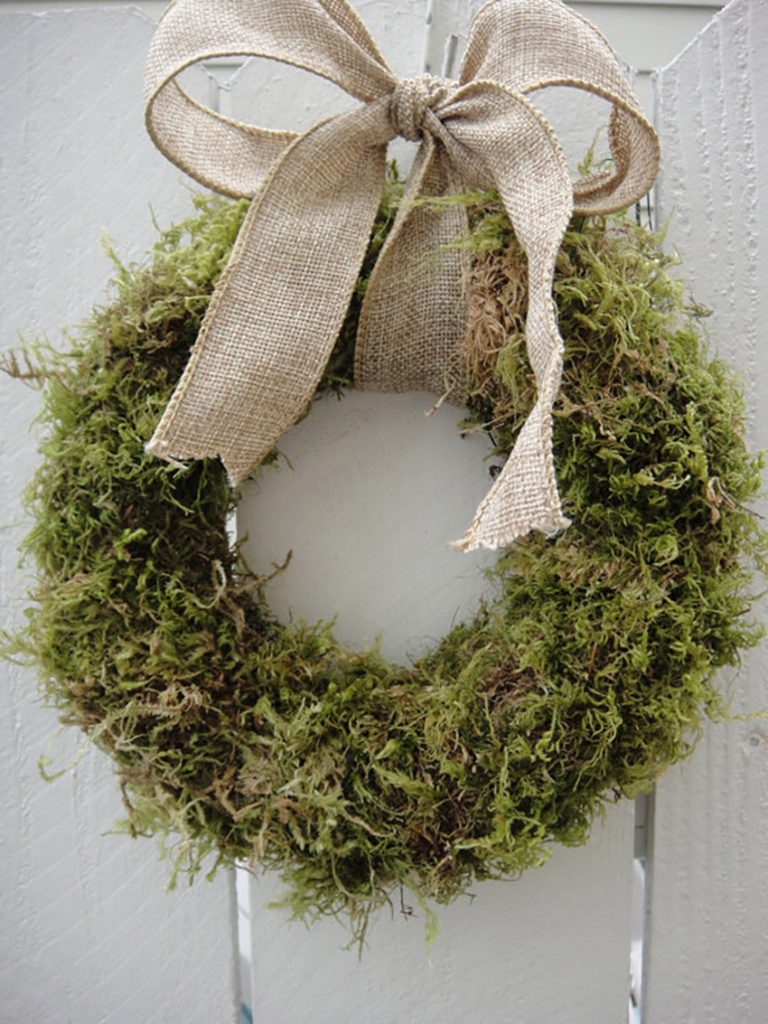
The nicest wreaths are the simple ones.

A simple welcome at your front door, whether it is rustic or elegant, will put a smile on faces, even for those that are just walking or driving by.

nicest wreaths
nicest wreaths

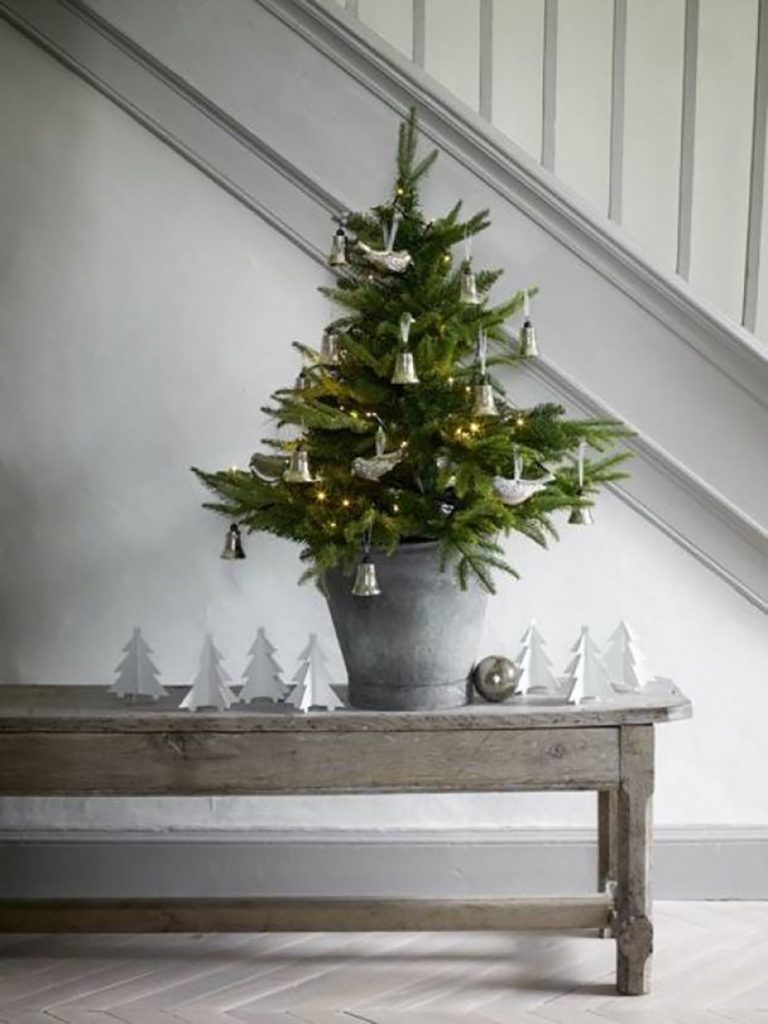
A tree that creates a delightful surprise

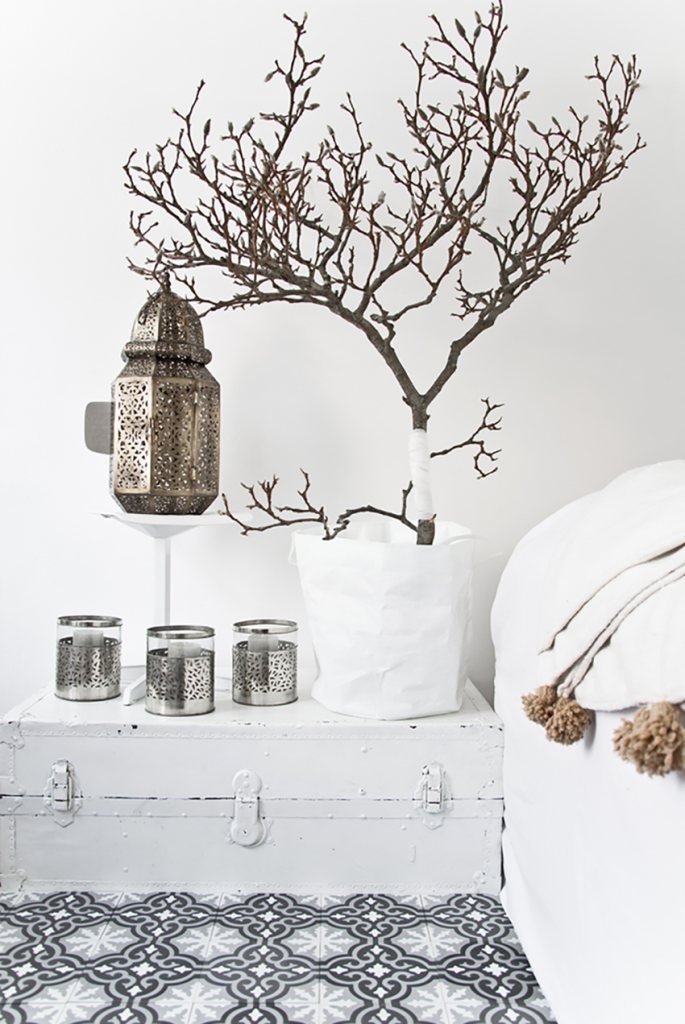
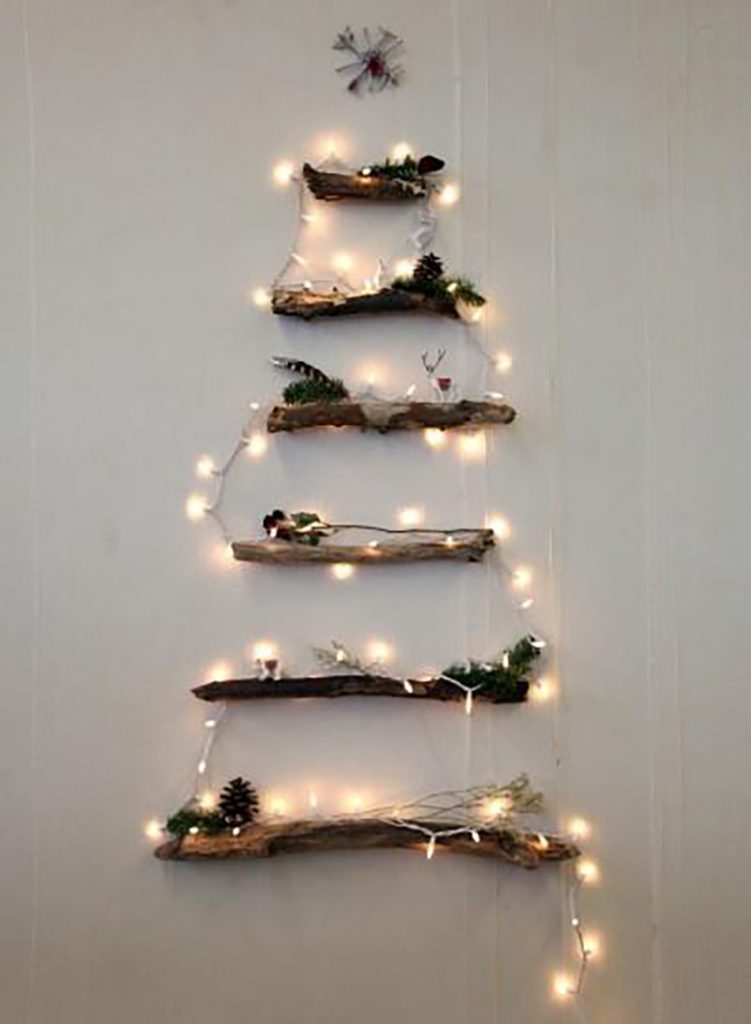
If you want an easier holiday clean up, do NOT bring a  natural tree with its falling pine needles into your home! Consider one of these non-traditional trees; 100% original as well as being eco-friendly. Gather pretty branches in a container or mount them on the wall with lights.

A tree that creates a delightful surprise

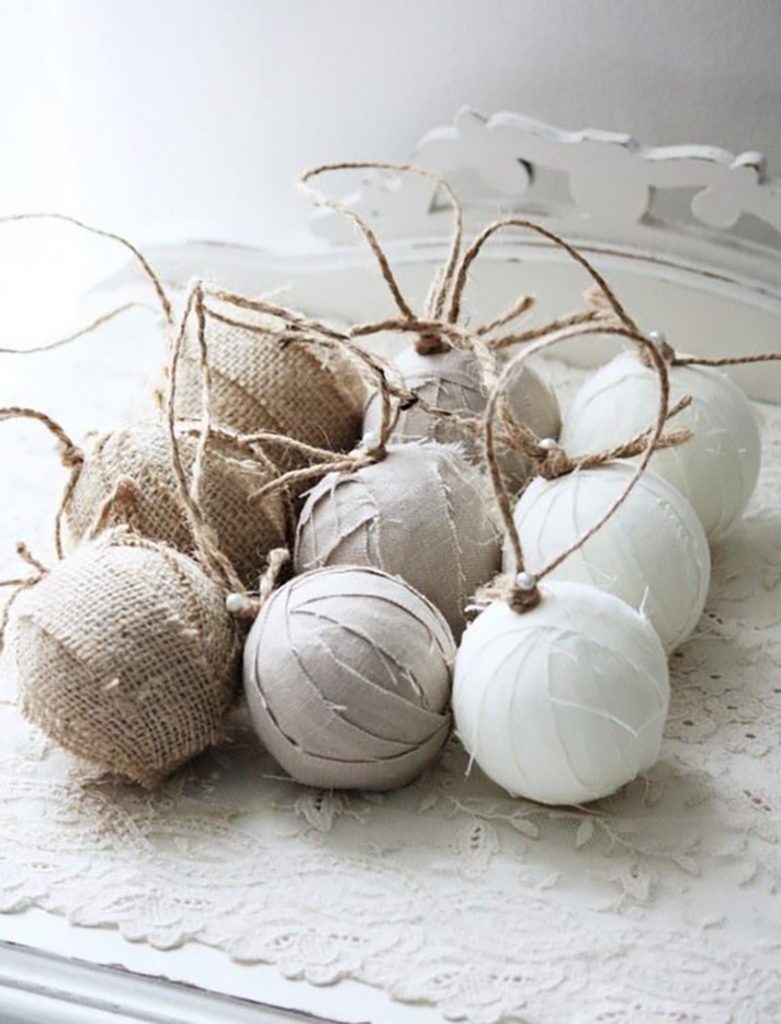
If your decorations are simple enough, it can be a pure delight creating them by hand

decorations are simple enough

Add a holiday accent to your table, the hallway or your fireplace mantle

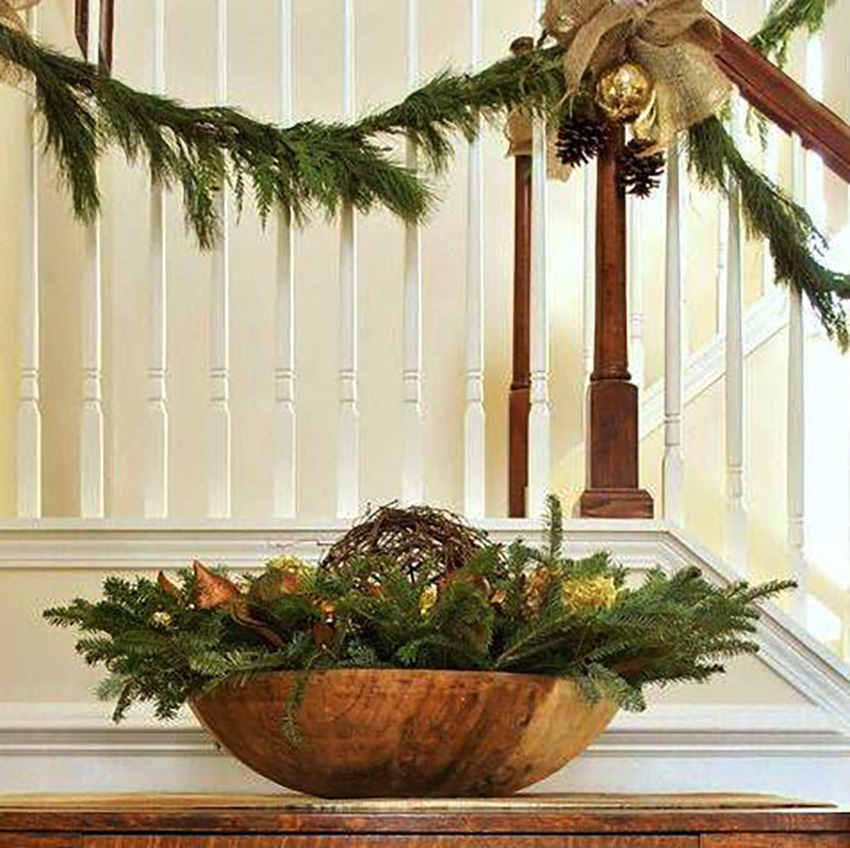
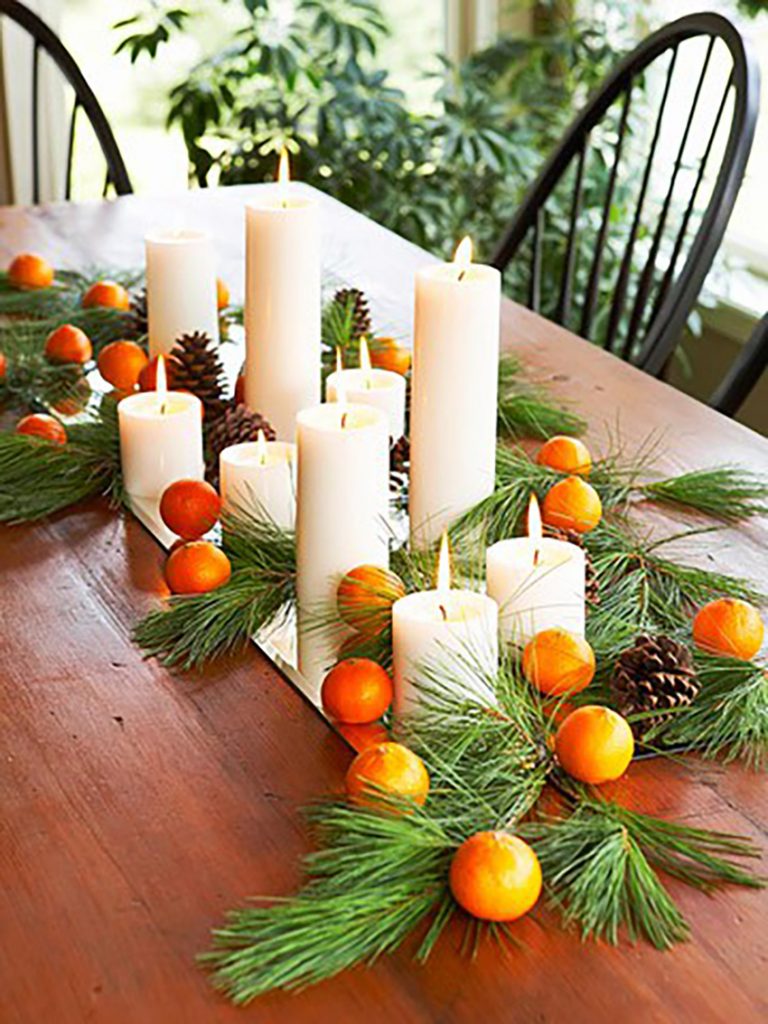
Available in the woods and the farmer’s market, natural evergreen branches add an elegant touch as well as a wonderful fragrance to any room or entryway. Tie them up discretely using fishing line or green florist’s wire. Tie-wraps are an option unless they are visible.

fireplace mantle
holiday deco

Light up your space while creating a rich ambiance and warmth

natural deco
rich ambiance
rich ambiance

Add a single colour

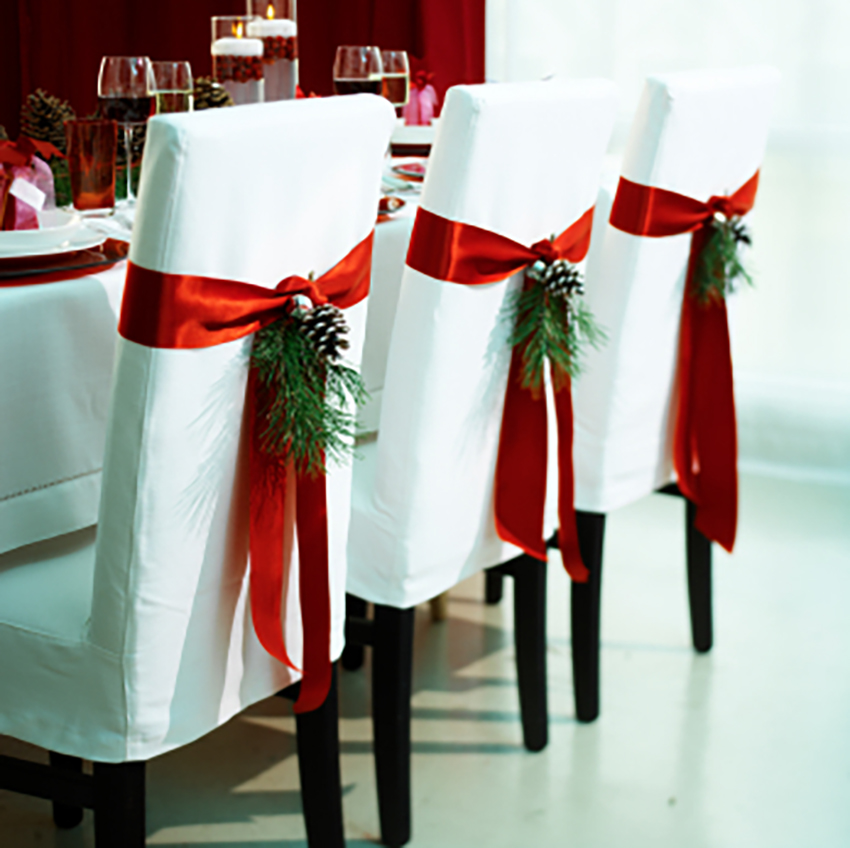
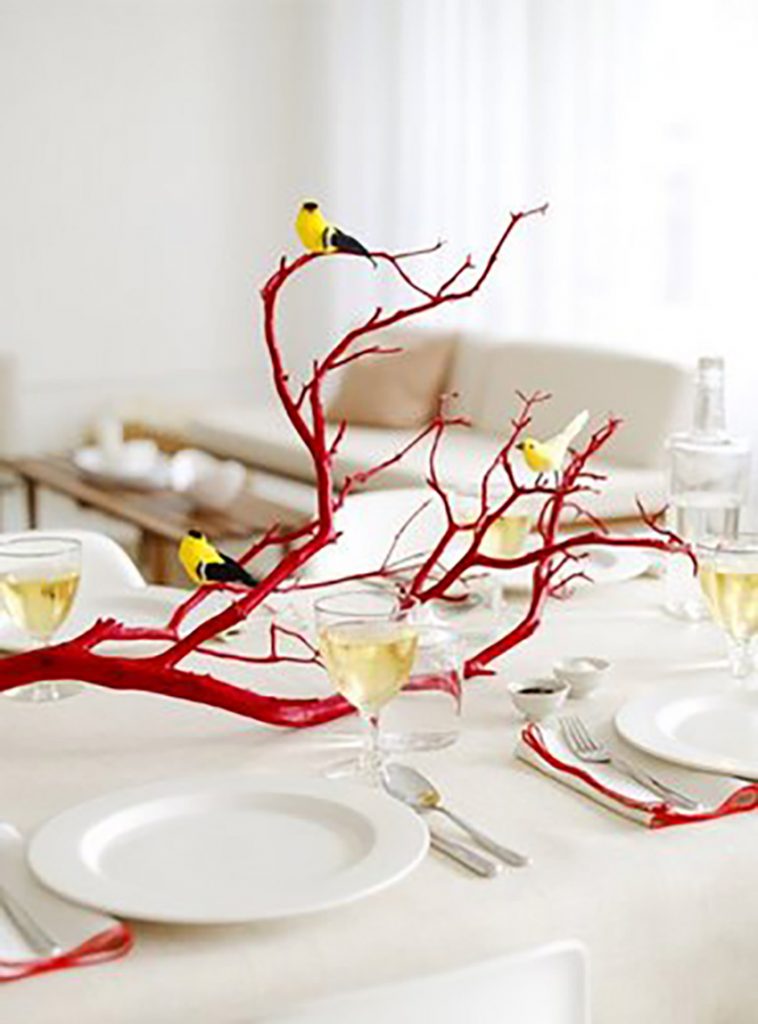
Go ahead and spray paint a dead tree branch, or add a festive touch to your table with pine branches mixed in with colourful fruit or bright ribbons on your chairs.

Add a single colour
Add a single colour

Be inspired by these simple holiday decorating ideas. Integrating natural elements will bring cheer to young and old without breaking your budget. The added bonus is that going with a natural and simple holiday style respects your limited time schedule and the entire family will enjoy helping out!

Now, get out that glue gun!

Written by Lucie Pitt · Categorized: Seasonal Decorating · Tagged: christmas, christmas decorations, DIY, holiday decorations, Home Made Decorations, interior decorating

Aug 14 2013

Accessorizing and Personalizing Your Decor

How to accessorize with attention-grabbing groupings!

How to accessorize with attention-grabbing groupings!

Near the end of your interior design project, a great way of successfully ‘pulling it all together’ is through the art of accessorizing. This phase adds the final touch and actually personalizes the space to make it yours. The room should, in part, be an expression of who inhabits it, as well as being extremely inviting for everyone.

When it comes to adding the final touch to an interior decorating project, here are some of the tricks of the trade for making your accessories look ‘just right’…

1. Arrange objects into simple groupings called ‘Vignettes’

A vignette is a featured grouping of objects that is accentuated through the use of great lighting and is positioned on a surface that needed some decoration. A vignette makes a room look more polished and pulled together so it is filling a vital need in the decorating process! You can make a vignette on top of any flat surface: the floor, a dresser, table, fireplace mantle, bookshelf, counter top or window ledge. Think of it as creating a beautiful still life right where you need one!

Arrange objects into simple groupings called ‘Vignettes’

You can use accessories like vases, mirrors, plants, candles, photos, objects brought home from abroad, flea-market finds or other personal belongings to create ambience and to add a personal and unique flavour to the room. It is also a wonderful way of integrating cherished items, your personal artwork and heirlooms into your design.

2. Display objects in odd numbers such as 3 or 5

Display objects in odd numbers such as 3 or 5

Place several objects of similar shape, size and colour together in odd numbers for maximum impact. Groups of three or five work particularly well and are stronger visually than a group of two or four.

3. Add depth by layering the items

Placing objects against a mirror, or leaning them against a number of different sized frames on a shelf, is an easy way to create a sense of dimension. Or, as in the case below, the layering was achieved with objects that stand alone and have enough variety in their sizes, colours and textures that the layering effect works!

Place objects from the back of the flat surface to the front instead of in a straight line the length of the surface. Position the smaller items in the front, staggered to the side just a little.

Add depth by layering the items

4. Vary the height, textures and shapes of the objects.

Vary the height, textures and shapes of the objects

Mix hard and shiny accessories with rough and natural. Use weathered wood or iron architectural elements to introduce an unexpected texture. Photo frames, which come in finishes from shiny enamel to beaded, offer an array of texture options.

Use small pedestals to elevate items, or try stacking books to create a platform for smaller objects.

5. Let there be light!

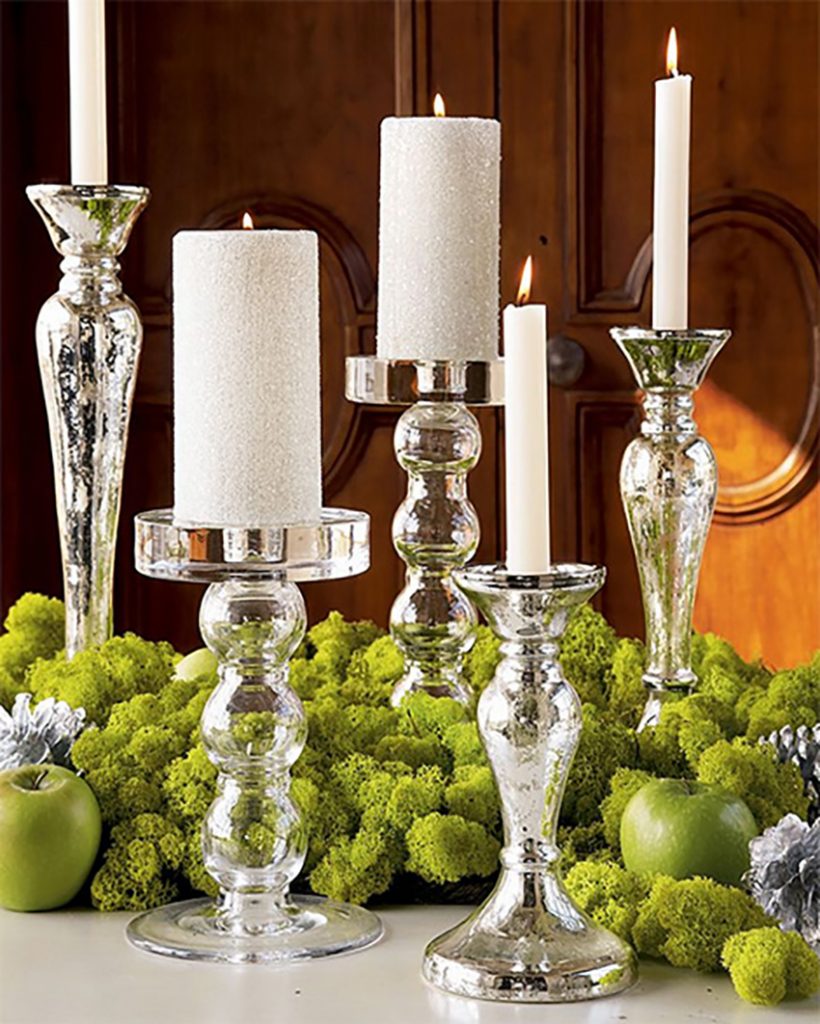
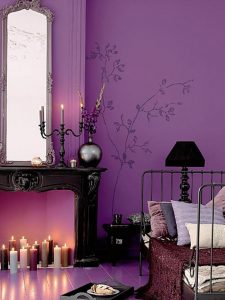
Try integrating a lamp, candles or lanterns as in the photograph of the fireplace below. There is a small grouping on the mantle, as well as lighting within the ‘faux’ fireplace itself.

Let there be light

6. Symmetrical groupings for formal style, asymmetrical ones for casual…

Symmetrical groupings for formal style, asymmetrical ones for casual

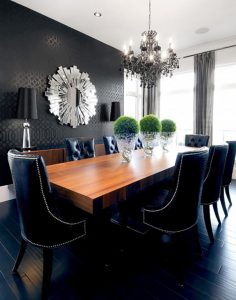
If your room is formal, a symmetrical design works best, as in the dining room below where every object is positioned in a cohesive and structured manner. Symmetry is always more sophisticated looking…

7. Integrate the right colour to create that ‘Wow’ factor.

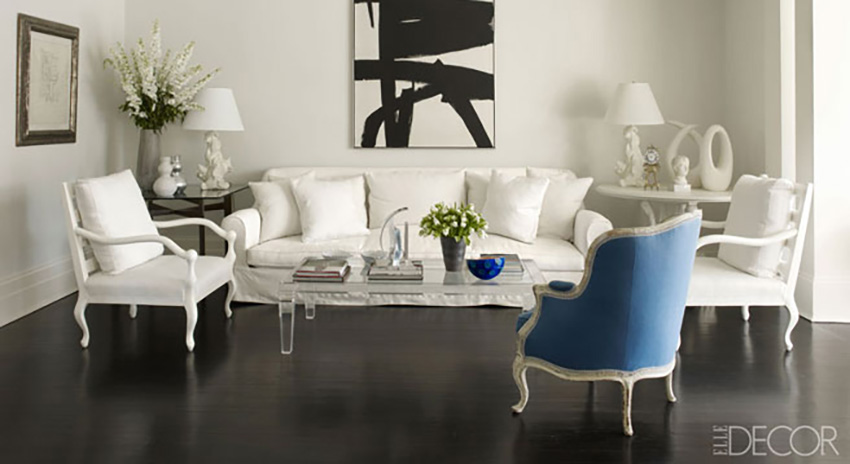
Add an item to the vignette in a shade that complements the existent colour palette of the room. The photo below is a good example of a coffee table grouping being tied into the rest of the design because it is 95% white with a small hit of blue (the bowl) as is the rest of the room…

Integrate the right colour to create that ‘Wow’ factor

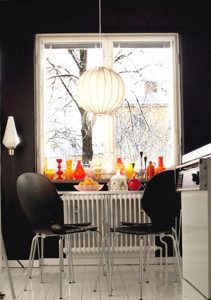
You can also use the vignette as a stand alone focal point. In the kitchen below, colourful vases grouped together in numbers were used to create a dynamic feel to the room, energizing it!

8. Stick to ONLY ONE theme in the grouping.

If the vacation photos are from the beach, add a seashell. If you happen to have a few collector items such as Vintage camera accessories etc, then go ahead a put them together. As a larger grouping they will draw the eye and create more of a statement than if they were spread out thinly here and there.

8. Stick to ONLY ONE theme in the grouping.

The creation of vignettes around your home will add value to your newly showcased belongings . Just remember to limit the quantity so they are captivating and draw a moment of appreciation as people walk by. Too many little items jumbled together are overwhelming . Just 3 or 5 items carefully placed in a simple group engage and draw the eyes, clutter is kept to a minimum, and all is well with the world, well, at least the inside the room!

You would like to adopt some of these ideas in your own space but you don’t know where to start?

Contact us to transform your home or office according to your style, your budget and your specific needs. By discussing your project we can provide you with relevant information concerning our services, the process and our design fee.

Click here to contact us.
Written by Lucie Pitt · Categorized: Decorative accessories · Tagged: accessories, accessories for decorating, accessories for decoration, deco tips, decorating, interior decorating, interior design

  • « Previous Page
  • 1
  • …
  • 6
  • 7
  • 8

A home visit is not possible?
Our online interior design services give you access to valuable tips, ideas and professional expertise.
Click here to find out more

Lucie Pitt Interior Designer

Versa Style Design
Lucie Pitt

info@versastyledesign.ca
social-icon social-icon social-icon social-icon

Receive precious advice and exclusive promotions by subscribing to Lucie's Design & Organization Newsletter

Interior Design & Renovations

Kitchen Design
Bathroom Design
Living Room Design
Basement Design
Get Organized
Closets and Walk-Ins
Home Theater
Custom Furniture
Curtains and Blinds
Bedroom Design
Home Office Design
Man Cave and Garage
Kid Zones
Small Spaces
Perfect Colour
Exceptional Walls
Exterior Design

Design Blog

Kitchen
Renovations
Walk-Ins and Shelves
Small Spaces
Kids
Organize & Declutter
Seasonal Decorating
Bathrooms
Mudrooms and Vestibules
Trends and Styles
Decorating With Colour
Window Treatment
Laundry Room
Office
Outdoors
Bedroom
Cabinets
Basements

Versa Style Design © 2026 · Contact Us · Privacy Policy · Managed by webwilly.ca