Versa Style Design

Montreal Interior Design and Renovation Services

  • Home Renovations
    • Kitchens
    • Bathrooms and Laundry
    • Basements
    • Luxury Interior Design
  • Get Organized
    • Small Spaces
    • Kids’ Bedroom and Playroom
    • Closets and Walk Ins
    • Office Design
    • Home Theater
  • Design
    • Living Rooms and Dining Rooms
    • Bedrooms
    • Exterior Design
    • Perfect Colours
    • Custom Furniture Design
    • Curtains and Blinds Design
    • Walls that make a Statement
    • Man Caves and Garages
    • Online Design Services
  • Reviews
  • Portfolio
    • Kitchens
    • Bathrooms
    • Living Rooms and Dining Rooms
    • Bedrooms
    • Basement
    • Exteriors
    • Offices
    • Vestibules, Halls, and Stairs
    • Home Gym
    • Wine Cellar
    • Kids’ Bedroom and Playroom
    • Custom Furniture
  • About
  • Contact
  • Français

Jan 25 2019

A well-planned home renovation

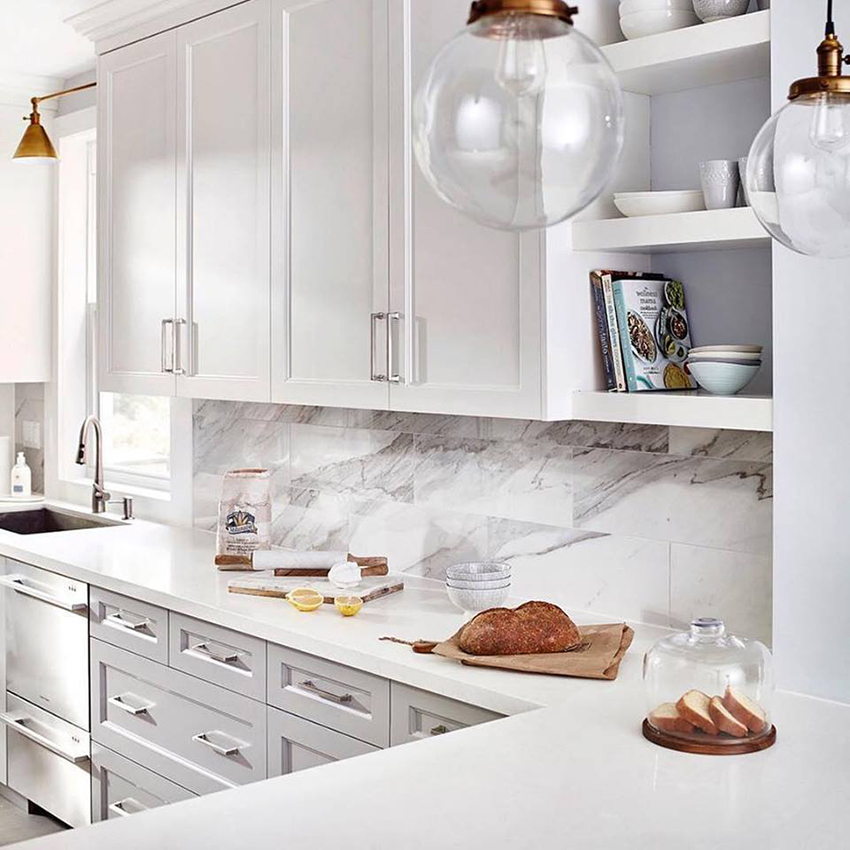
Kitchen renovation pantry
Have you been thinking of renovating but felt a little daunted by the process, and don’t really know where to start? Your home has a direct impact on your quality of life, so home improvement is not to be taken lightly or even neglected. On the contrary, proper planning will save you time and money in the long run. I cannot repeat too often to my clients: Renovating a house or condo with a happy ending requires careful planning right down to the smallest detail.
 

The home improvement projects most in demand by my clients are:

  1. Kitchen renovations
  2. Bathroom renovations
  3. Basement renovations

I suppose it must be because they are such central spaces to family life,
and are high traffic as well.

Renovating the shower and bathroom
 

Kitchen, bathroom and basement renovations are a smart investment

 
basement storage renovations
Good News! Kitchen, bathroom and basement renovations are what give home owners the highest return on their investment. If these spaces are properly done, you can get back as much as 75% – 100% on your money, if not more.
Real estate agents agree that a seller should concentrate on these three rooms to sell their homes. So even if you intend on living there for many more years, you know that the eventual market value will be considerably higher than it is now!
 

The 3 phases structuring a home renovation project

Phase 1: Dream

 
Because we all forget the daily irritations triggered by our dysfunctional spaces , and because we don’t recall all the nifty items we come across or read about, you should keep a running list of ideas and photos in a file, for months if need be! Sometimes it is easier to write down what is NOT working in our space before we can put a great wish list together.
renovating the bathroom
 
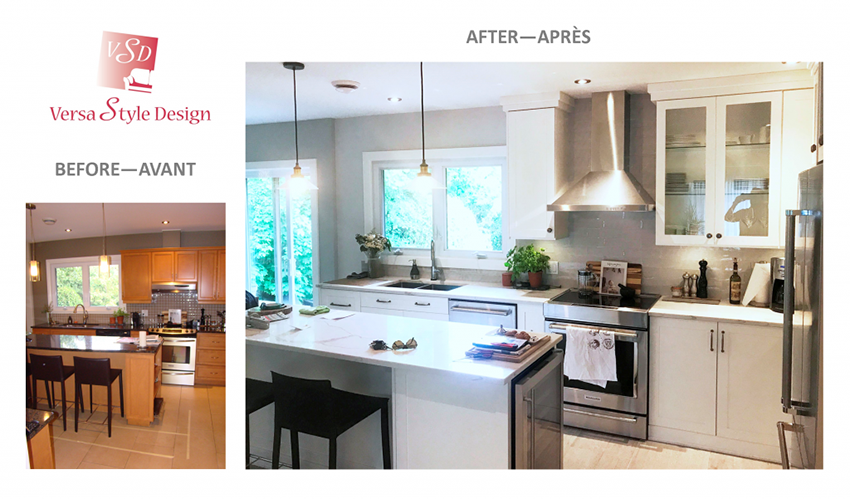
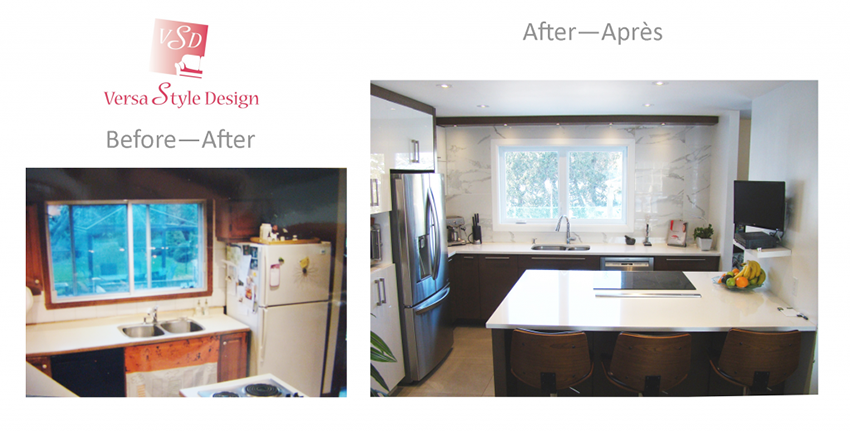
kitchen and cabinet renovations
You should surf the net and visit suppliers in order to familiarize yourself with new products and materials newly released on the market to make life easier, and more stylish! Purchase decoration magazines and visit inspirational websites such as Houzz and Pinterest and keep the photos that have elements that catch your sense of style or practicality. A picture is worth a thousand words.
 

Phase 2: Recruit and plan

Get help from an Interior designer


Interior designers are specialists in planning great interiors. They also provide technical plans, and supervise renovations but they have the added bonus of being creators of environments, personalizing spaces from a functional and practical point of view .

With the help of your designer, establish your priorities as well as short, medium and long term goals with a logical sequence to avoid back-tracking and undoing previously done work. This professional can also help you when comparing various price quotes and ensure the entrepreneur is conforming his work to the plans!

floor plan for renovations
 

Choosing the right trades-people

 
renovations and workers
Always get the name from a satisfied client, designer or architect for the right person for YOUR project. Every trade and professional has their strong points and specialties, so make sure the match is right. I always get a good grasp of a client’s plans before knowing which entrepreneur or contractor would be perfect for the scope and type of home improvement project.
 
They should be established for several years, and possess all the proper permits, insurances and industry requirements, as well as having worked on the same type of project as yours. They should provide a clear and prompt price quote, references, and a proper contract. Don’t forget to get your plans approved by your municipality before progressing. The municipal codes and regulations vary from one municipality to the next.
kitchen renovations, cabinet renovations


The right timing

 
bathroom renovations
If you are able, try to schedule these people well enough in advance (with a contract and deposit), or plan your home renovation project during a quieter time of year. The busiest times of year in the home improvement industry are spring and autumn.

During the hottest summer weeks they take their vacations, however, it is often too quiet in this sector of activity in the colder winter months after the holidays. From January through March these trades are often looking for work, so it’s a good time to book them and perhaps negotiate a better price. They want to work, they are passionate and they are excellent!


Phase 3: Action

Ordering

 
With your designer and entrepreneur, consider the waiting times for each order to avoid unnecessary delays, and coordinate this aspect carefully. For instance, the floor covering must be delivered and installed before the kitchen cabinets or that new bathroom vanity.

decor ideas and ordering
 

To conclude

 
We can clearly see all the benefits to a well-planned home renovation project. Apart from the aesthetic side, renovating even just a room will introduce greater comfort, a higher level of security, a practical and functional living space, and generally improve every family member’s quality of life.
 
Statistics have demonstrated that certain home improvement projects increase the market value of the property.
Now all that remains is for you to dream of your new living or work space!

Kitchen Renovations
Basement Renovations
Bathroom Renovations

You would like to adopt some of these ideas in your own space
but you don’t know where to start?

Contact us to transform your home or office according to your style, your budget and your specific needs. By discussing your project we can provide you with relevant information concerning our services, the process and our design fee.

Click here and we will respond within 24 hours.

Written by Lucie Pitt · Categorized: Renovations · Tagged: home renovations, interior design, interior renovations, renovating

Sep 27 2018

Kitchen counters and how to choose one

A new counter will instantly elevate your kitchen, as well as increase the value of your home. Kitchen counters have developed over time, and are now designed to adapt to your lifestyle and budget.

Are you looking to change your kitchen counter but don’t know where to start? Here are the main considerations that will help you select the best countertop for your kitchen.
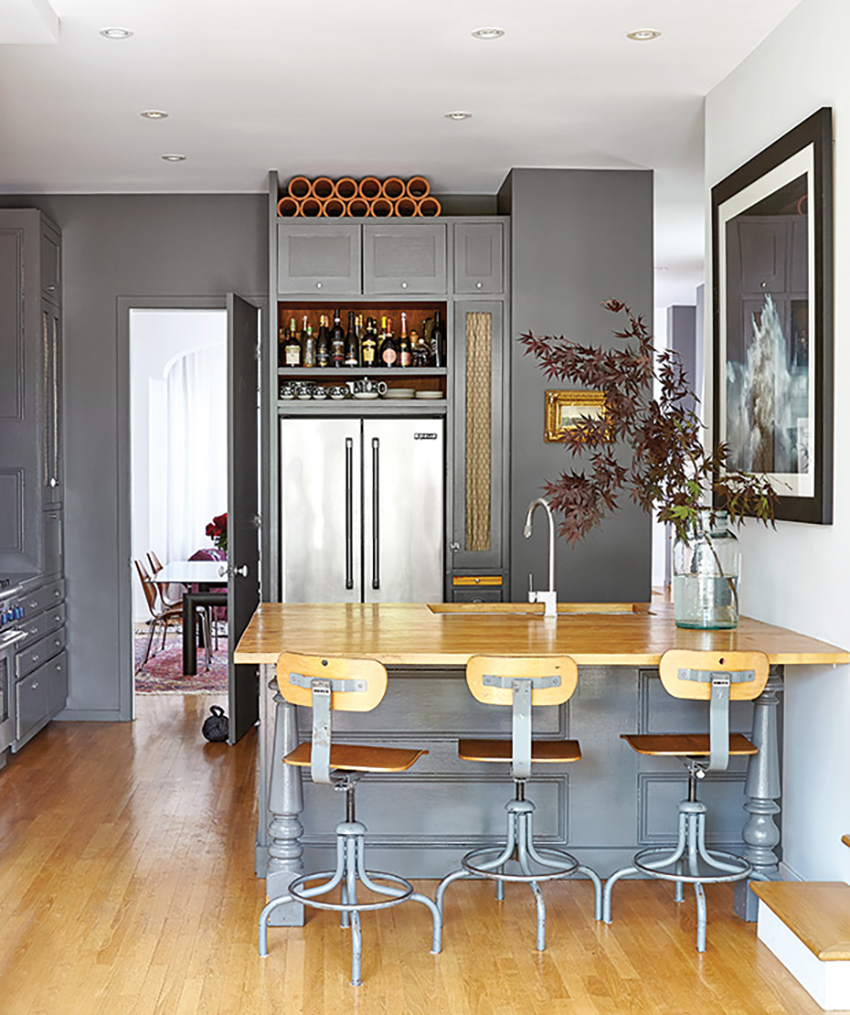
Kitchen counters and how to choose one

Determine how the counter will be used
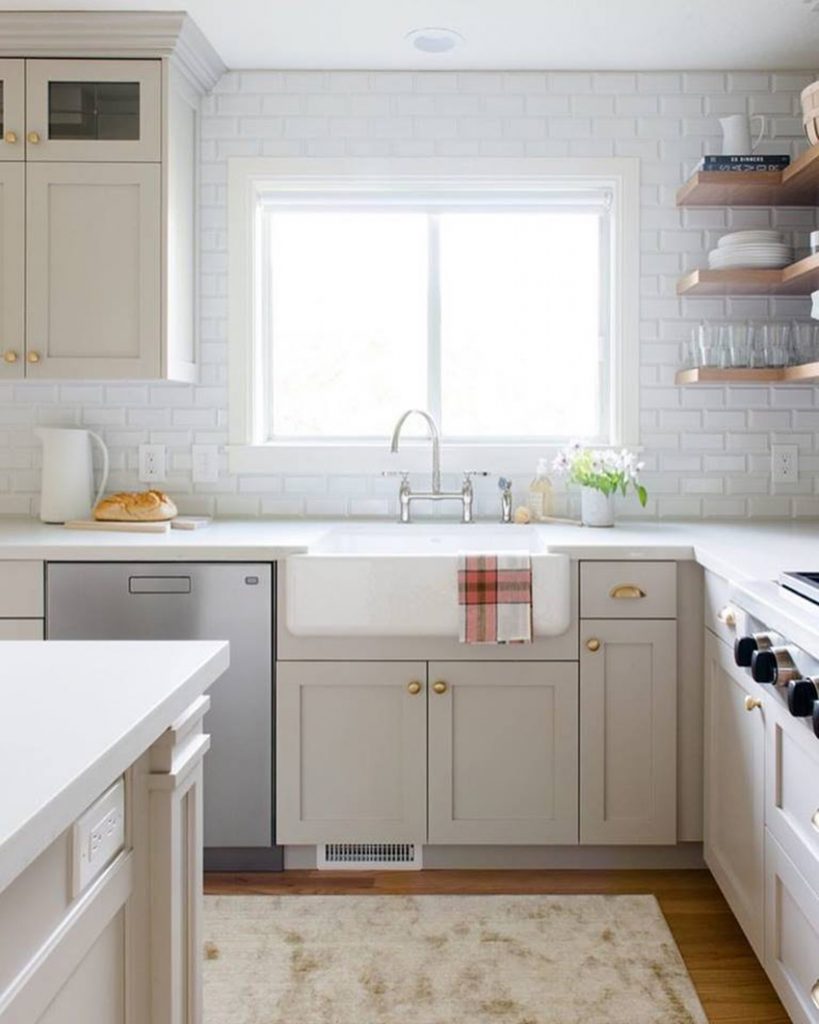
Determine how the counter will be used

In a perfect world, a kitchen counter would possess durability, easy maintenance, water, heat and stain resistance, affordability and a nice look to top it all off. Unfortunately, the reality is quite different.

No material is perfect and everyone has their own criteria and preferences. Each person prioritizes certain aspects that will be more important than others in their selection process.

Some will favour price or ease of maintenance whereas others will prefer something that looks good or is very durable. Also, in order to help you determine which characteristics are most important to you, ask yourself what type of use you will make of your counter and in what type of environment it will be installed.

Will you cook a lot on its surface? Do you use Turmeric or other saturated spices? Are there children working on an island counter? Are you willing to spend a lot of time and effort to keep it looking nice and clean?
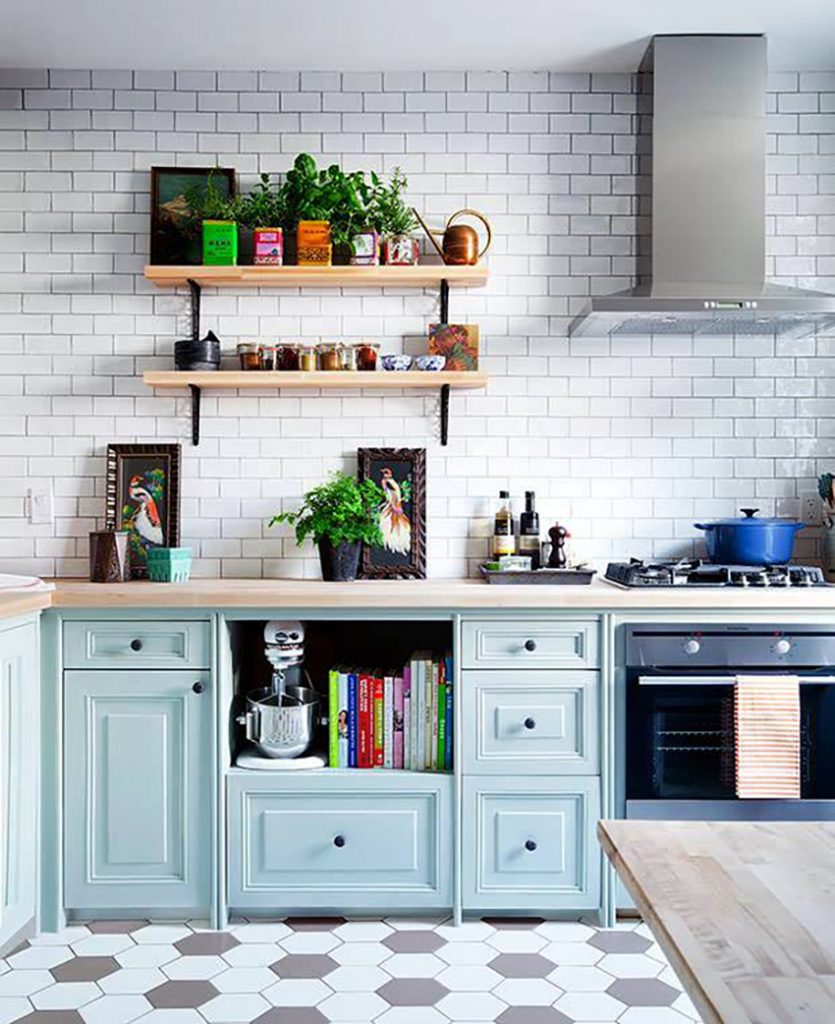
Determine how the counter will be used

Defining the budget

Defining the budget kitchen counters

This is the most important step of the process. Your budget is what will help you make your dream a reality. Essentially, it will allow you to know if you have enough money to do what you want and if not, to determine which compromises you will have to make to reach your goal. Even when you think you’ve found the perfect countertop, if it doesn’t suit your budget, you will have to find another alternative.

Elaborating your budget will also help you decide how the countertop will be installed. You could install it yourself or hire a designer with their supplier and installer to do the job. It’s up to you to see which option best suits your budget, your expectations and your manual skills.
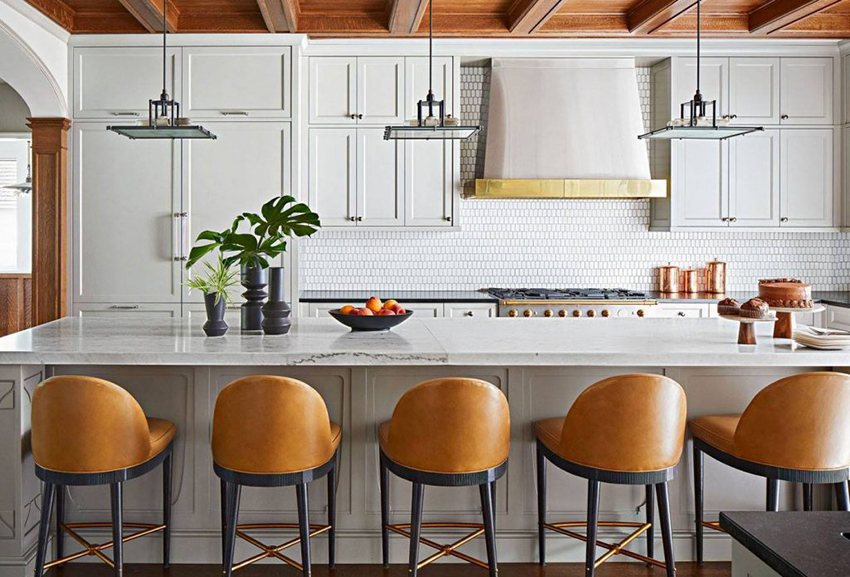
kitchen counters

A budget includes all materials, the cut, delivery and installation. If you install it yourself, you must also take into account the price of renting tools if you don’t have the right ones.

Choosing the right materials
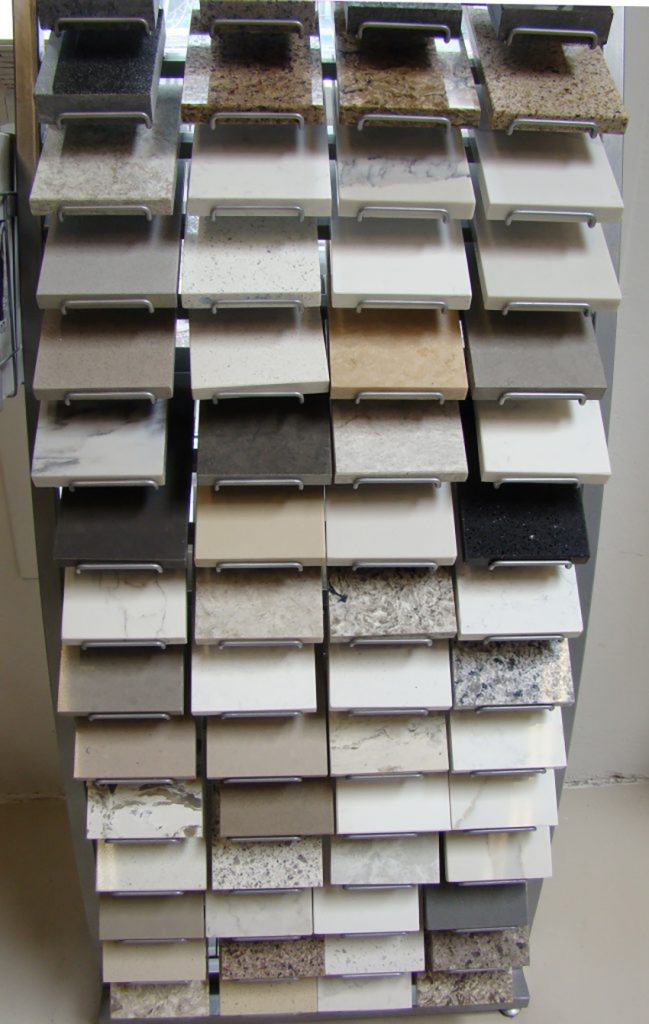
Choosing the right materials

There are many different options for kitchen countertop materials available on the market. Even though none are perfect, you will definitely find something that lives up to your expectations. In order to avoid useless spending and future regrets, take your time when making a choice.

Compare prices and check out the specific characteristics of each material. Visit the stores where they sell these types of products or Versa Style Design’s Montreal showroom, to compare the qualities, colours and prices. The more time you invest in this step, the more likely you are to be satisfied with the result.

Laminate counters
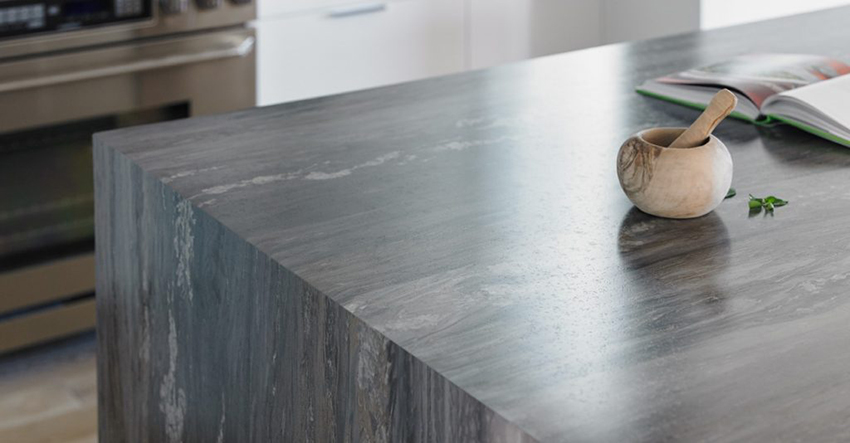
Laminate counters

Standard laminate is a sandwich of kraft paper impregnated with resin and topped by a decorative layer of melamine paper glued to a particleboard substrate. Only drop-in sink installations are possible with this type of counter. Available in a wide range of finishes, laminate can imitate the appearance of other materials, which makes it possible to enjoy the look of more expensive materials without the associated cost.

Laminate Counter Benefits

  • Affordable
  • Versatile
  • Durable
  • Wide range of colours and patterns available
  • Impact-resistant

Drawbacks

  • Only moderately heat and scratch-resistant
  • Joints are visible
  • Damaged surfaces are more difficult to repair

Maintenance

  • Clean with a mild soap

Wood counters

Wood counters

Hard woods such as yellow birch, white oak, teak, maple and cherry are the preferred wood species for work surfaces. A butcher’s block-style countertop is a chef’s dream, and is made by bonding together 3″ or larger laminated strips of unpainted wood. There are many shades of natural wood possible, making wood an ideal material to harmonize with the rest of your kitchen decor. Since wood is prone to water damage, avoid using wood for surfaces around the sink. Wood works very well in combination with other materials. A drop-in sink installation is necessary.

Wood Benefits

  • Authentic visual warmth
  • Versatile
  • Timeless character
  • Suitable for all decors
  • Can be repaired easily
  • Naturally water-resistant teak is an ideal wood for around the sink.

Drawbacks

  • High-maintenance
  • Scratch and impact-sensitive
  • Heat-sensitive
  • Shows knife marks
  • Expensive
  • Requires sealants

Maintenance

  • Prevent marks by cleaning up spills immediately
  • Apply a mineral oil to protect the wood every three months
  • Sanding and re-oiling will bring back its original look

Stone, quartz and solid-surface counters
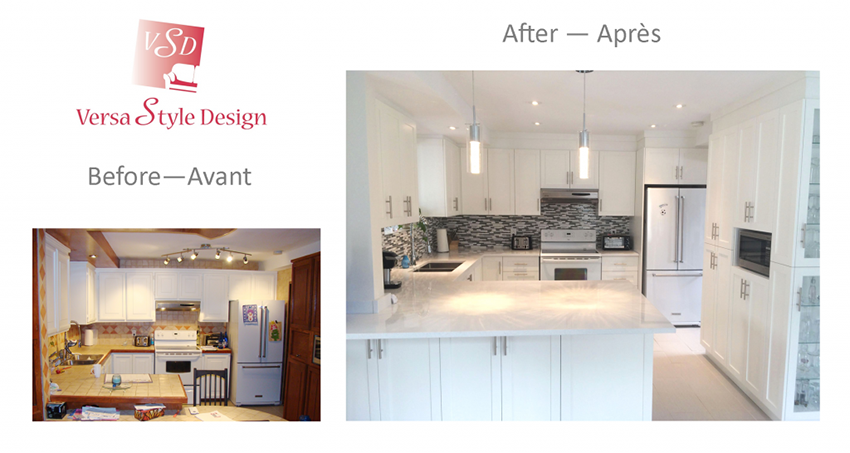
Stone, quartz and solid-surface counters

Experienced professionals are required to install stone countertops and solid surfacing, and they must also make the necessary openings for the sink and faucets. Stone slabs are pre-cut and solid surface materials are made to order. Under-mount sinks can be installed with stone and quartz-surface.

Stone Benefits

  • Durable, elegant, unique and high-end
  • Easy to clean
  • Highly heat-resistant
  • Slabs can be cut to fit the size counter you want

Maintenance

  • Sealants must be applied to most natural stone
  • Colours are irregular, varying from one slab to another
  • Heat-sensitive
  • Periodic maintenance is required
  • Granite countertops must be installed over a plywood base
  • Expensive

Drawbacks

  • Clean with a mild soap
Stone, quartz and solid-surface counters

Quartz Counter Benefits

  • Requires less maintenance than slab stone
  • Water-tight and durable
  • Consistent colours
  • Anti-bacterial
  • Non-porous so sealant is not required
  • Heat, stain and scratch-resistant

Drawbacks

  • Expensive

Maintenance

  • Clean with a mild soap
Stone, quartz and solid-surface counters

Solid Surface Counter Benefits

  • Offered in a wide range of colours
  • Highly resistant to stains and abrasive products
  • No visible joints

Drawbacks

  • Expensive
  • Not very heat and scratch-resistant

Maintenance

  • Clean with a mild soap

Concrete counters
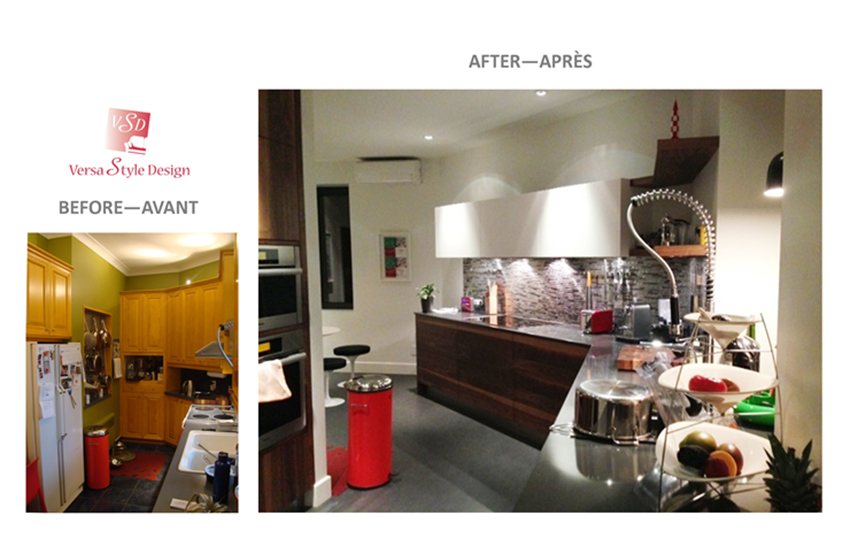
Concrete counters

Concrete countertops are available in three types. First among the options are custom precast slabs, which begin with taking the measurements of the countertop area, then building a mould. Once it has been fabricated offsite, it is then transported and installed in the kitchen.

Another option is “pour in place” countertops, which are exactly what they sound like. This type of concrete countertop is poured on the spot over a concrete board or plywood surface that covers the cabinets underneath with a moulding for the edges. The last type is the simplest and entails using pre-manufactured slabs and having them fitted.

Concrete counter Benefits

  • One of the most malleable materials from a design perspective
  • Can be pre-formed or poured on the spot
  • Heat and scratch-resistant
  • Colours and finishes easily customized
  • Metal and glass fragments can be added to the mix for decorative appeal

Drawbacks

  • Must be reinforced with steel and polypropylene fibre to prevent cracking
  • Stains easily so must be sealed properly
  • Base cabinets may need structural reinforcing
  • Must be reinforced with steel and polypropylene fibre to prevent cracking
  • Colour changes over time with a patina
  • Expensive

Maintenance

  • Wipe surfaces clean immediately

You would like to adopt some of these ideas in your own space but you don’t know where to start?

Contact us to transform your home or office according to your style, your budget and your specific needs. By discussing your project we can provide you with relevant information concerning our services, the process and our design fee.

Click here to contact us.
Written by Lucie Pitt · Categorized: Kitchens

Jul 30 2018

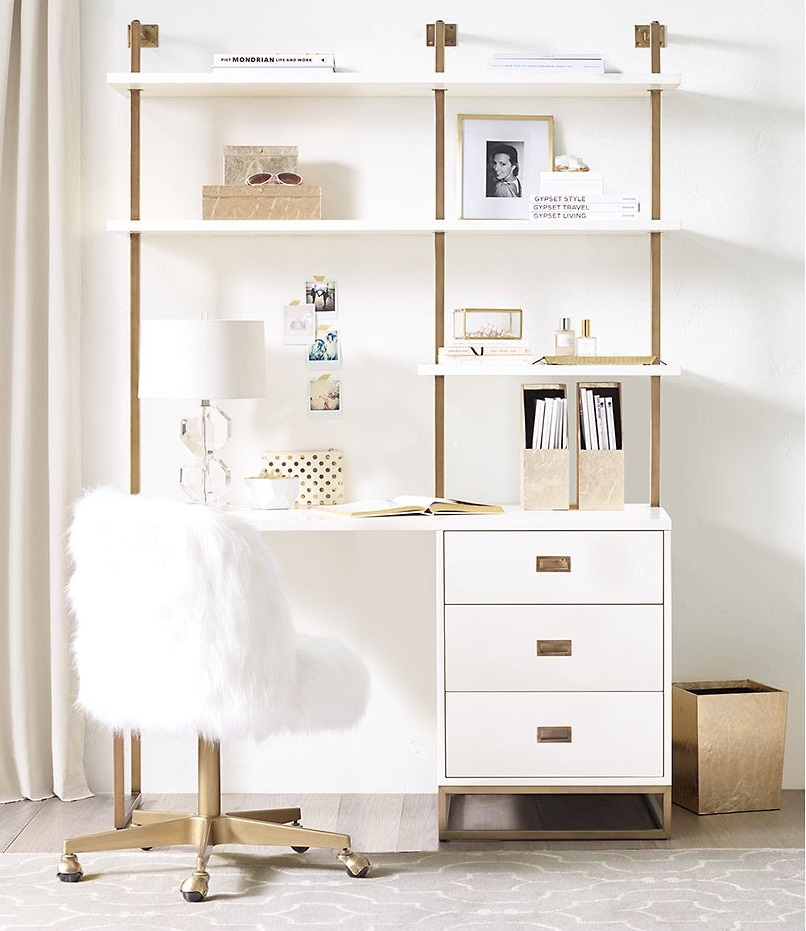
Great back to school study areas

With the school season quickly approaching, it’s time to get the kids and adults set up for a smooth start. This means a desk area where they can go to concentrate on homework and creative projects alike. The most essential element of any desk, whether it’s for kids or adults, is smart organization.

They’ll be spending a ton of time here reading, learning their numbers, exploring new ideas and using their imagination. Create a space that makes it easy to focus on one thing at a time.

Great back to school study areas

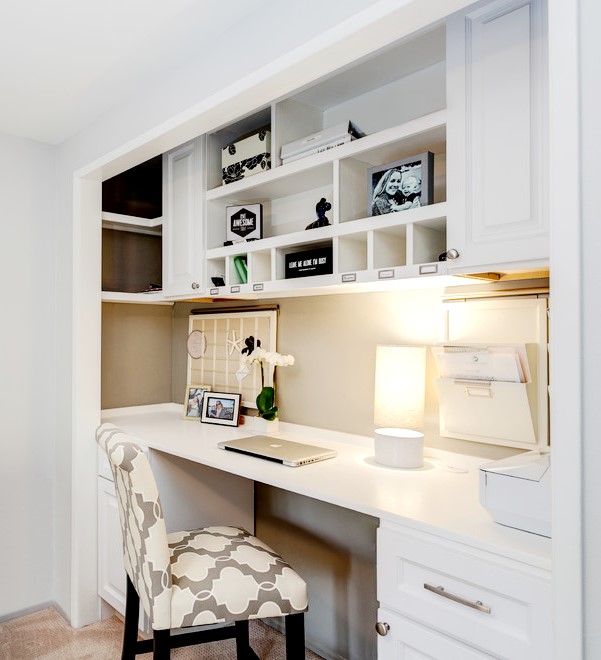
Re-purpose a cupboard

Re-purpose a cupboard

Turn a corner of the room into a dedicated study and homework space. If there are enough dressers in the room to store clothes and the closet isn’t used as much, repurpose it to create a desk, if its size is appropriate.

Fit shelves inside the closet space to make full use of the height, so school supplies and books can be stored on them. Use a ceiling light, mural lamp or reading light to light the desk space.

Wall Storage

While the first assignments might be tough, getting organized doesn’t need to be. Try combining wall storage above the desk for stationery, a desk organizer for papers and a corkboard to easily find the schedule. Create space to contain everything by surrounding the desk with shelves. Use solid-coloured, matching boxes to hide things away. A couple of shelves can be dedicated to showcasing a few decorative objects as well. Add in accessories, like a letter tray, to sort your papers and hold your tablet.

Lighting

Comfort is a priority and make sure there is a good direct light to focus on the desktop, as well as some mood lighting for ambience. A well-lit environment also helps concentration and relieves eye strain. Especially using light levels and quality are similar to daylight.

If you can, setting up a workspace next to a window is ideal. But you can also recreate daylight using light bulbs that have similar light spectrum to natural sunshine. Task lighting on the desk helps provide focused lighting on work too.

You would like to adopt some of these ideas in your own space but you don’t know where to start?

Contact us to transform your home or office according to your style, your budget and your specific needs. By discussing your project we can provide you with relevant information concerning our services, the process and our design fee.

Click here to contact us.
Written by Lucie Pitt · Categorized: Kids

Jan 22 2018

Decorating with Neutral Tones

Lavish, Soft, Understated, Natural, Easy-going

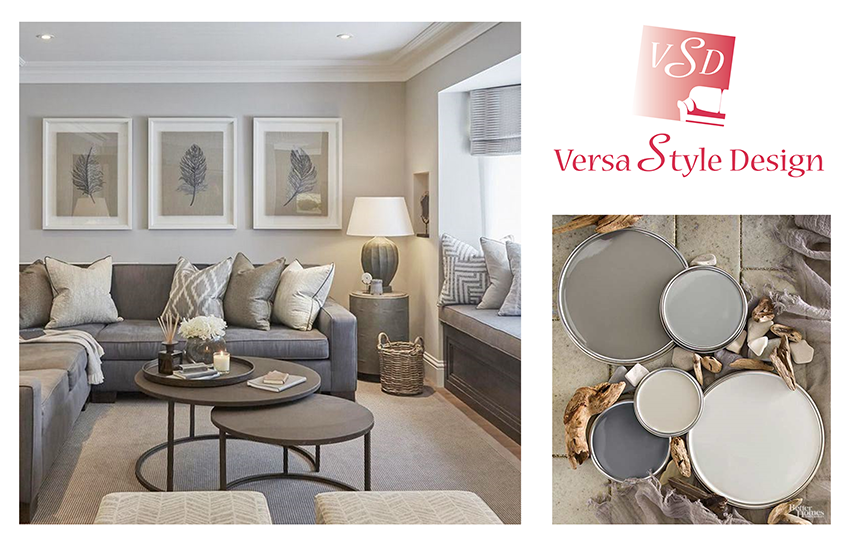
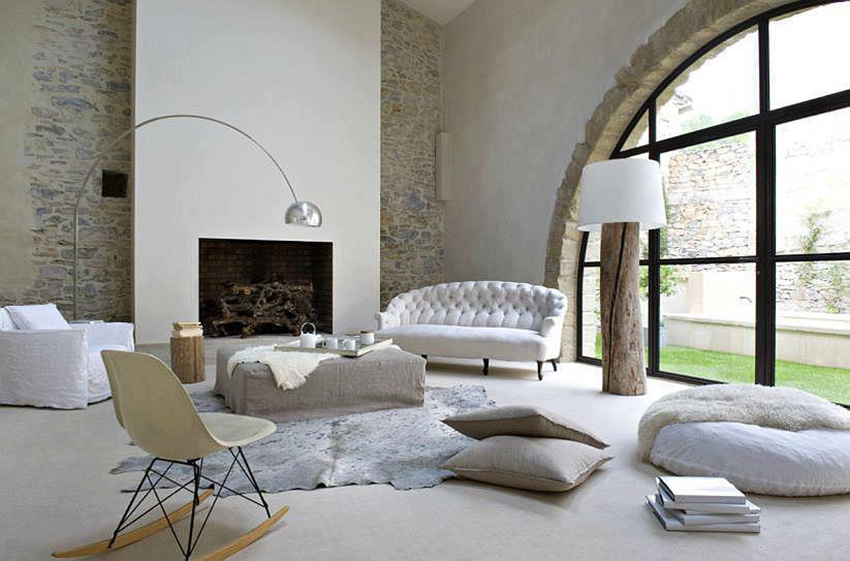
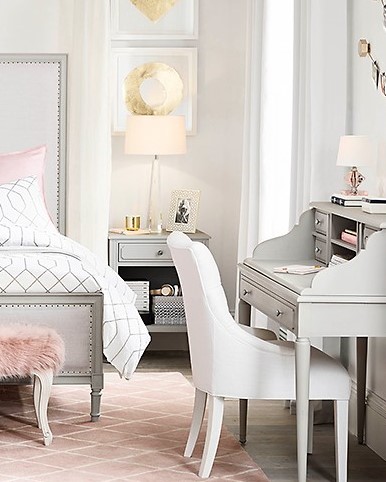
Cool neutrals are perfect for creating gorgeous and romantic bedrooms or ultra contemporary kitchens or living rooms, whereas warm neutrals are more flexible and adapt well to any room especially if your desire is a cozy lounge area. In this living room we can see both the warm and the cool combined.

Decorating with Neutral Tones

‘Neutral’ – an interesting word when it comes to colours. In fact, neutrals can be full of meaning and character. The room featured here, while distinctly neutral, is devoted to offer the utmost in creature comforts and relaxation.

Welcoming and comfortable, a room decorated in warm neutrals will make anyone feel at home. Dark, textured accessories add visual interest and depth.

Wood’s best friend

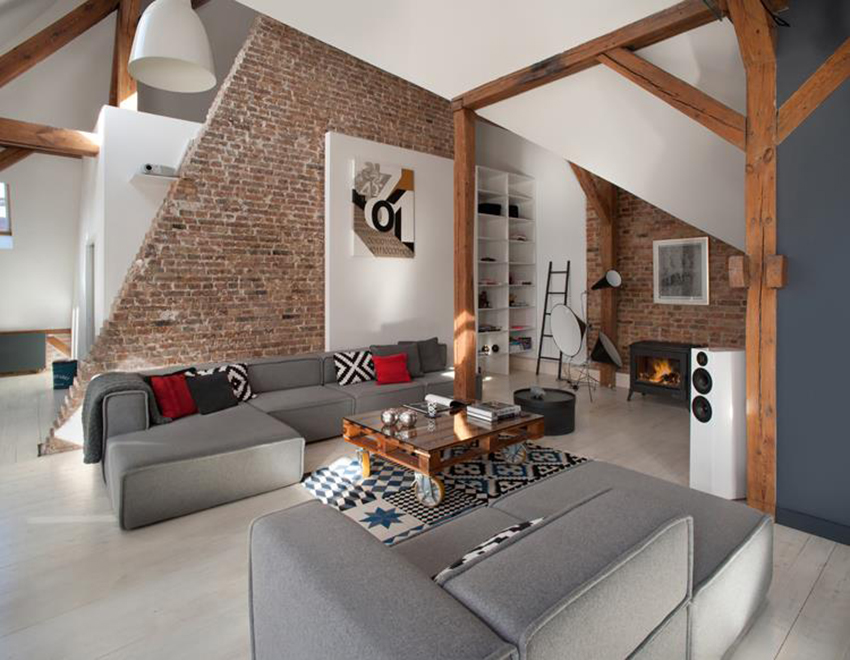
The family of grays go naturally with wood. So naturally, in fact, that it makes you wonder if it won’t turn out too predictable. But that is where your creativity comes in. Add a hint of subtle colour or metal. Put the wood centre-stage and use the gray as a backdrop.

No room will ever look ‘too dull’ as long as you are there to mix it up.

Wood’s best friend - neutral tones

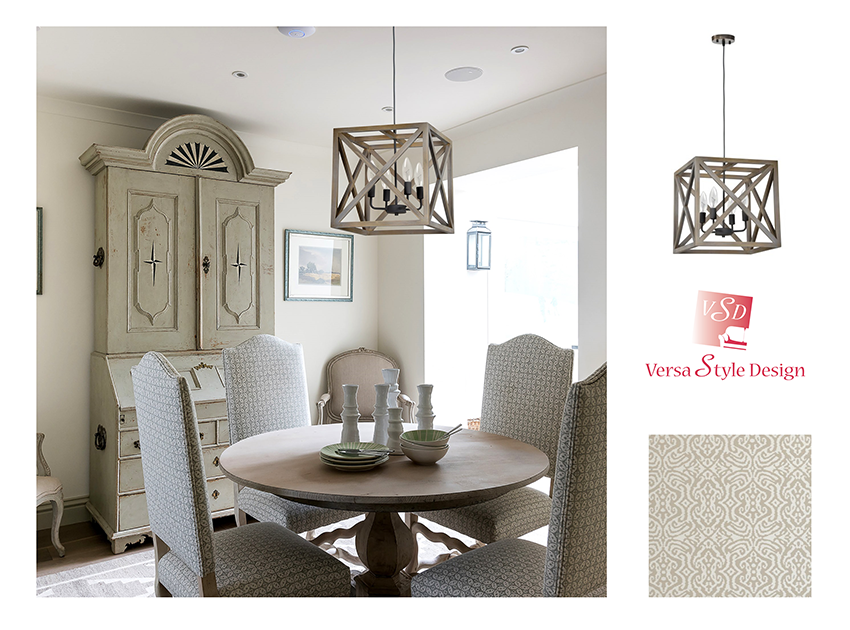
White

White - neutral tones

Bright, Clean, Fresh, Basic, Pure

White is all about light – creating it, reflecting it and magnifying it. White is ideal for small rooms when you want to give the impression of a larger space.

White provides a clean canvas and backdrop for highlighting beautiful accessories.

Any fashion stylist would be happy to reveal to you one of the secrets of a successful monochromatic pallette: a broad variety in textures makes all the difference. The same goes for interior decorating.

Glossy and matte surfaces, straight, curvy and angular lines, and materials ranging from shiny and rigid to soft and plush, together create a lively scene. Since colour doesn’t get in the way of tactile perception, you’ll be acutely aware of the abundance surrounding you.

White - neutral tones

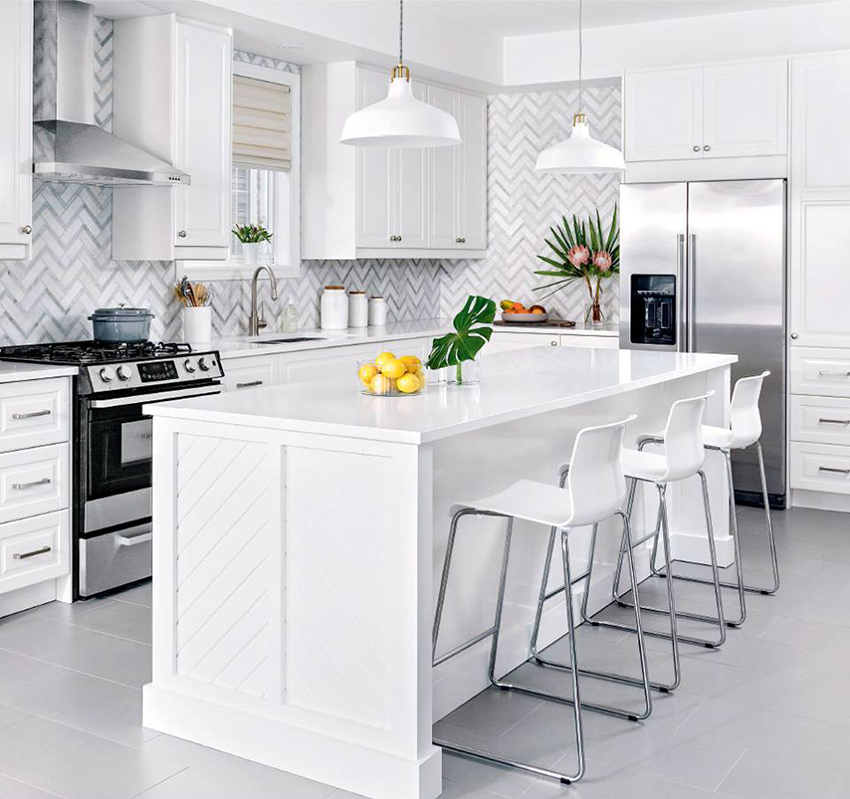
Contrary to popular belief, white doesn’t create a minimalist space per se. Variations of white are ideal for the soft shapes and muted decorations that make spaces feel cosy and laid back.White leaves room for improvisation. Once you venture out into off-white and cream territory, a whole new set of opportunities arises.

Be as playful as you like – the result, after all, still qualifies as a white wall.

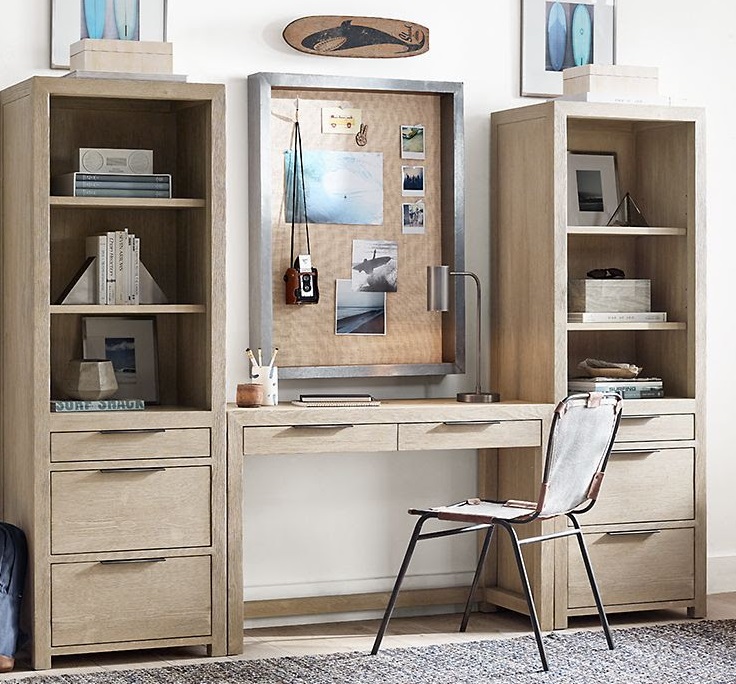
White Meet Wood

White is not only a blank canvas or a stand-alone entity, it is also a gracious backdrop and a natural companion for wood. Wooden picture frames, a wall-mounted desk or a chest of drawers seldom look better than against a simple white wall.

The light draws out the depth of colour in the wood, emphasizing the beauty of the grain and complementing the quality of the workmanship.

White Meet Wood

You would like to adopt some of these ideas in your own space but you don’t know where to start?

Contact us to transform your home or office according to your style, your budget and your specific needs. By discussing your project we can provide you with relevant information concerning our services, the process and our design fee.

Click here to contact us.
Written by Lucie Pitt · Categorized: Decorating with color

Jun 03 2017

Designer tips to make your ceiling seem higher

Designer tips to make your ceiling seem higher

This kitchen and dining area has high ceilings, but we are not all so fortunate! Some of our small rooms can feel cramped! When you don’t have a lot of square footage in a space, you can help it along with a few ‘tricks of the trade’ to at least make a room seem like it is more spacious!

You can create the illusion of higher ceilings – and achieve a more spacious atmosphere with these four valuable tips:

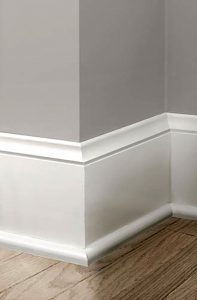
1. Use taller baseboard molding

Larger molding on the floor makes the walls look higher.Standard baseboards are about 4 – 7 inches in height, but you can find these moldings up to a foot high. There are many materials and styles from which to choose.

1. Use taller baseboard molding

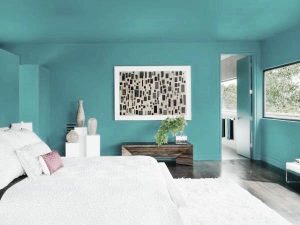
2. Paint the ceiling to match the walls

Paint the ceiling to match the walls

Most homeowners assume that the ceiling should stay white to make the room seem larger. However, if the walls have color and the ceiling does not, there is a strong visual break where they meet. This accentuates the low ceiling. If you paint your ceiling to match the walls, it fools the eye, and the ceiling will appear higher.

3. Make sure you have adequate lighting.

This basement, as with most, had a low ceiling, so careful consideration was given to drawing the eye to certain areas, and away from others. Position adequate lighting in all the corners and extremities. A dark corner won’t appear, thereby making the wall seem shorter.

3. Make sure you have adequate lighting.

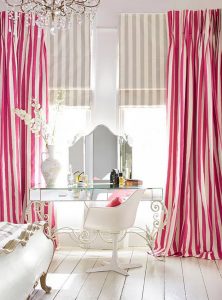
4. Use vertical lines

4. Use vertical lines

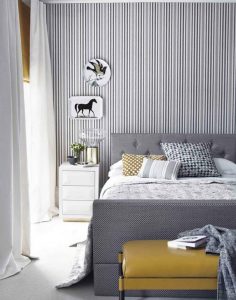
To create a taller appearance in a room, use vertical lines – and avoid horizontal lines – wherever you can. Choose window treatments that draw the eye upward, like fabric panels installed from the ceiling to the floor (see the first photo in this article), long cascades, or vertical blinds.

Look for wallpaper or furniture that has vertical lines or you can paint a tone-on-tone striped pattern on the wall for an elegant look that adds height.All of the gorgeous wallpapers and fabric featured in this article are available through Versa Style Design.

4. Use vertical lines

You would like to adopt some of these ideas in your own space but you don’t know where to start?

Contact us to transform your home or office according to your style, your budget and your specific needs. By discussing your project we can provide you with relevant information concerning our services, the process and our design fee.

Click here to contact us.
Written by Lucie Pitt · Categorized: Small spaces · Tagged: high ceiling, lighting, low ceiling, low rooms, paint, small rooms, verticle lines

  • « Previous Page
  • 1
  • …
  • 5
  • 6
  • 7
  • 8
  • Next Page »

A home visit is not possible?
Our online interior design services give you access to valuable tips, ideas and professional expertise.
Click here to find out more

Lucie Pitt Interior Designer

Versa Style Design
Lucie Pitt

info@versastyledesign.ca
social-icon social-icon social-icon social-icon

Receive precious advice and exclusive promotions by subscribing to Lucie's Design & Organization Newsletter

Interior Design & Renovations

Kitchen Design
Bathroom Design
Living Room Design
Basement Design
Get Organized
Closets and Walk-Ins
Home Theater
Custom Furniture
Curtains and Blinds
Bedroom Design
Home Office Design
Man Cave and Garage
Kid Zones
Small Spaces
Perfect Colour
Exceptional Walls
Exterior Design

Design Blog

Kitchen
Renovations
Walk-Ins and Shelves
Small Spaces
Kids
Organize & Declutter
Seasonal Decorating
Bathrooms
Mudrooms and Vestibules
Trends and Styles
Decorating With Colour
Window Treatment
Laundry Room
Office
Outdoors
Bedroom
Cabinets
Basements

Versa Style Design © 2026 · Contact Us · Privacy Policy · Managed by webwilly.ca